Oats Millet flour Pita/Rotis

Oatflour Millet pitas /roti
Oatflour Millet pita/roti

Oatflour Millet Pita /Roti
Oats millet flour Pita
Oats milletflour pita/rotis

Millet and oats Pita /Rotis
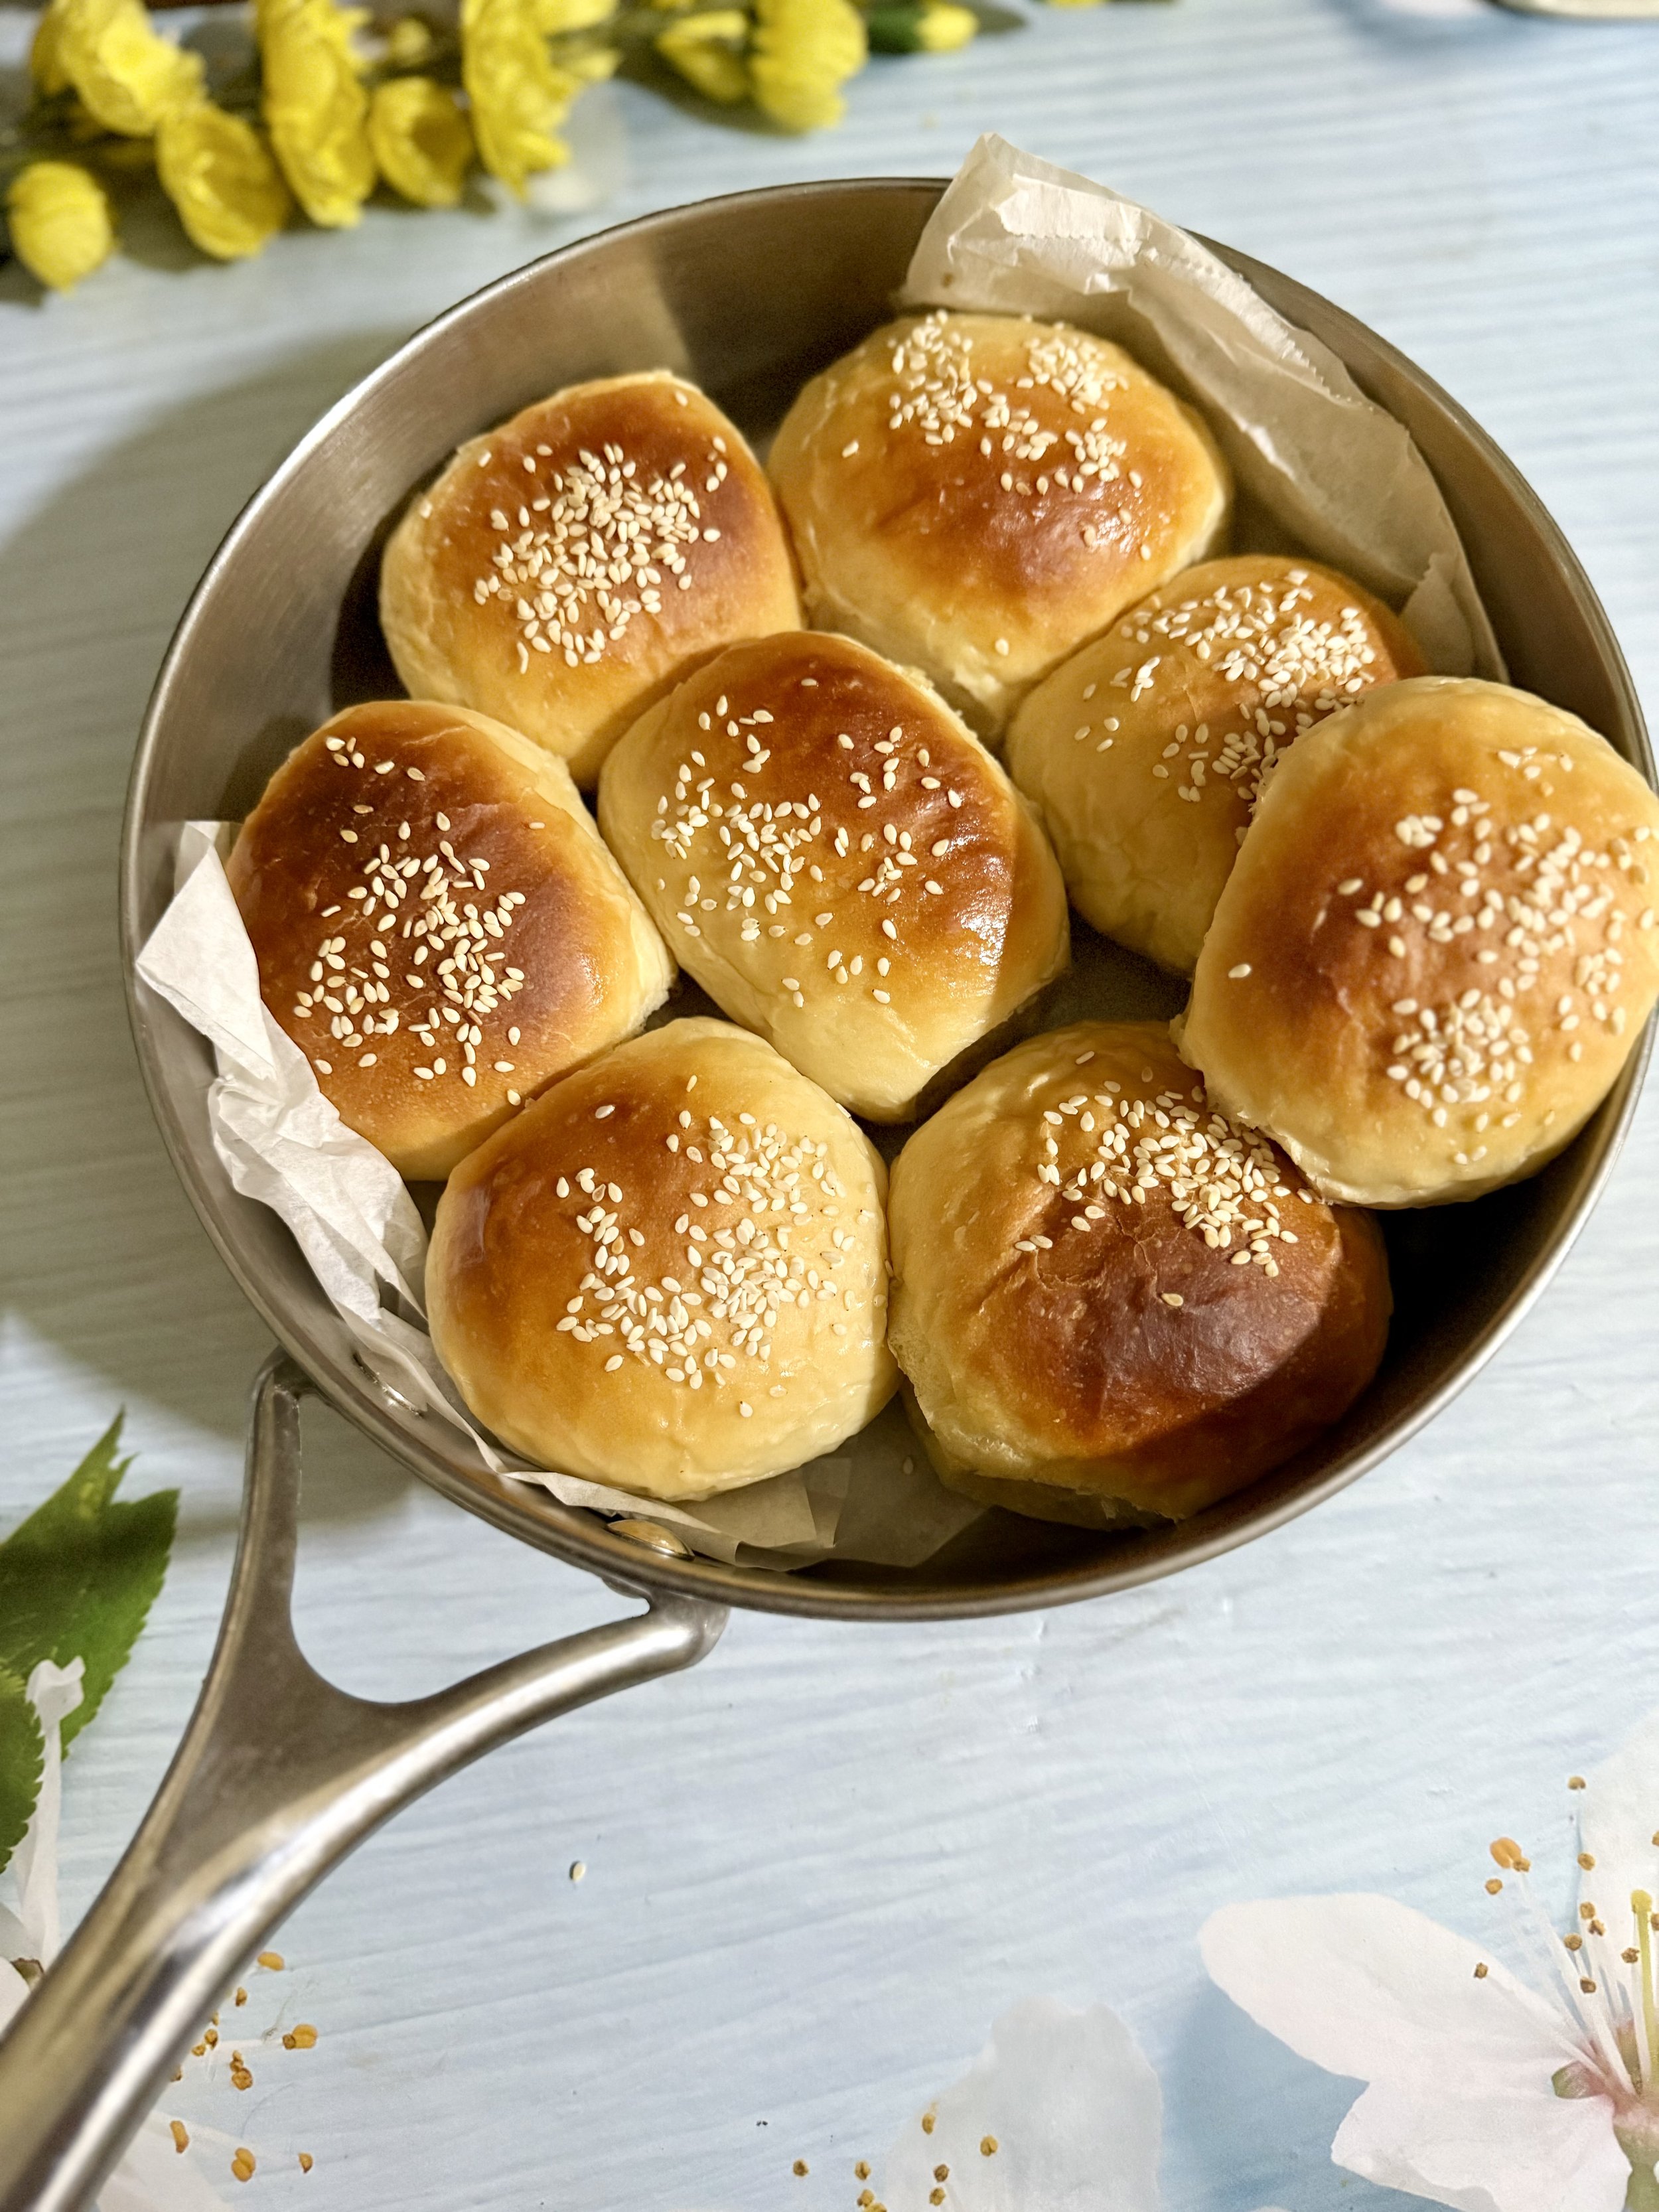
Pita breads are slightly leavened whole wheat or all purpose flour breads originating from Middle Eastern countries.It is a Lebanese cuisine predominantly.
Pita bread is popularly used to have with hummus, to scoop out sauces and dips. It is also used as wraps or making sandwiches with falafel. Pita breads are baked in very high temperatures around 450 degrees F which makes the flattened rounds of dough to puff up like a balloon .
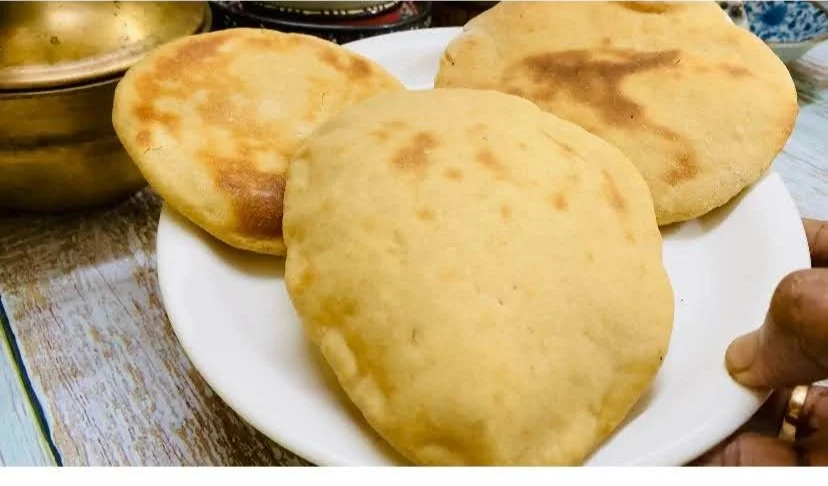
The puffed up pita bread is a beautiful sight to see within minutes of baking in the oven.
The puffed up pita causes a pocket to be formed which is very convenient to be used for interesting fillings.
Once removed from the oven , they deflate but the layers remain separated to form pockets.Almost any savory can be used in a pita bread .
The pita breads can also be used a a pizza base to top with vegetables and cheese. Therefore it is indeed a versatile bread.Pita breads are served with just about every meal in Middle Eastern countries and this is usually baked in brick oven under high temperature giving that browned look.
This is a great recipe for beginners to baking as it can be done easily .
Personally it seemed like making phulkas with yeast and a bit thicker. This is also good for those who want to bake breads but are afraid to do so. This can be the first step to baking breads.
Ingredients:
1 cup ground oat flour .
1/4 cup wholewheat flour
1/4 cup millet flour
1 tbsp yeast ( use a fresh pack )
1/2 cup warm water
1 tsp sugar/honey or jaggery
1 tbsp oil
salt
Method:
1. Take a small bowl and mix warm water, sugar/honey/or jaggery and yeast . Let it sit for 5 minutes or till it turns frothy.
2. After the yeast has become frothy , oat flour , millet flour , wheat flour , not all together, but little at a time as you are making the dough.
Add salt and oil, first use a wooden spatula for easier handling of dough during formation, as it will be shaggy and difficult to handle.
Turn the shaggy dough onto a floured surface , and start kneading the shaggy dough which will come around soon to be a smooth pliable one.
3. It will take around 5 minutes to knead, , sprinkle flour lightly, use extra oat flour to handle the dough if need be .
Knead the dough as you would for normal bread making, using the heel of your hand, and stretching gently careful not to tear the gluten formed
Kneading combines all the ingredients and makes the dough stretchy, elastic as much as possible as there is very little gluten in the recipe , so that we can get a good rise on the oven or a puffed roti or pita to make pockets .
A simple technique for kneading is to firmly press down on the dough with the palm, fold the dough in half towards you, like you are closing an envelope, rotate the dough 90 degrees, and then repeat the steps. Around 5-8 minutes is good.
4. Grease the bowl in which you mixed the flours and keep the prepared dough in it, oil if necessary to prevent stickiness.
Cover with a kitchen towel or cling wrap , let it sit in a corner for the dough to rise or doubles in volume.
4. Usually it will take around 40 minutes to an hour depending on weather conditions.
The dough would have doubled, take it out on to a floured surface, sprinkle some flour, oil your hands if necessary, now flatten the dough gently to punch out the air, and divide the dough in to small portions which you will roll out into poori ./ small discs of rounds to be baked or cooked on a stove top.
5. After deflating the dough gently, divide into equal no of small balls. Keep them covered for around 10 minutes to rest. Meanwhile make sure to keep the oven pre heated to 250 degrees C
Keep the prepared Pita rounds covered till you bake them .
5. To cook on a stove top using a skillet or non stick pan
I am giving the procedure for cooking on stove top in an open nonstick pan , as I did not bake them the first time.
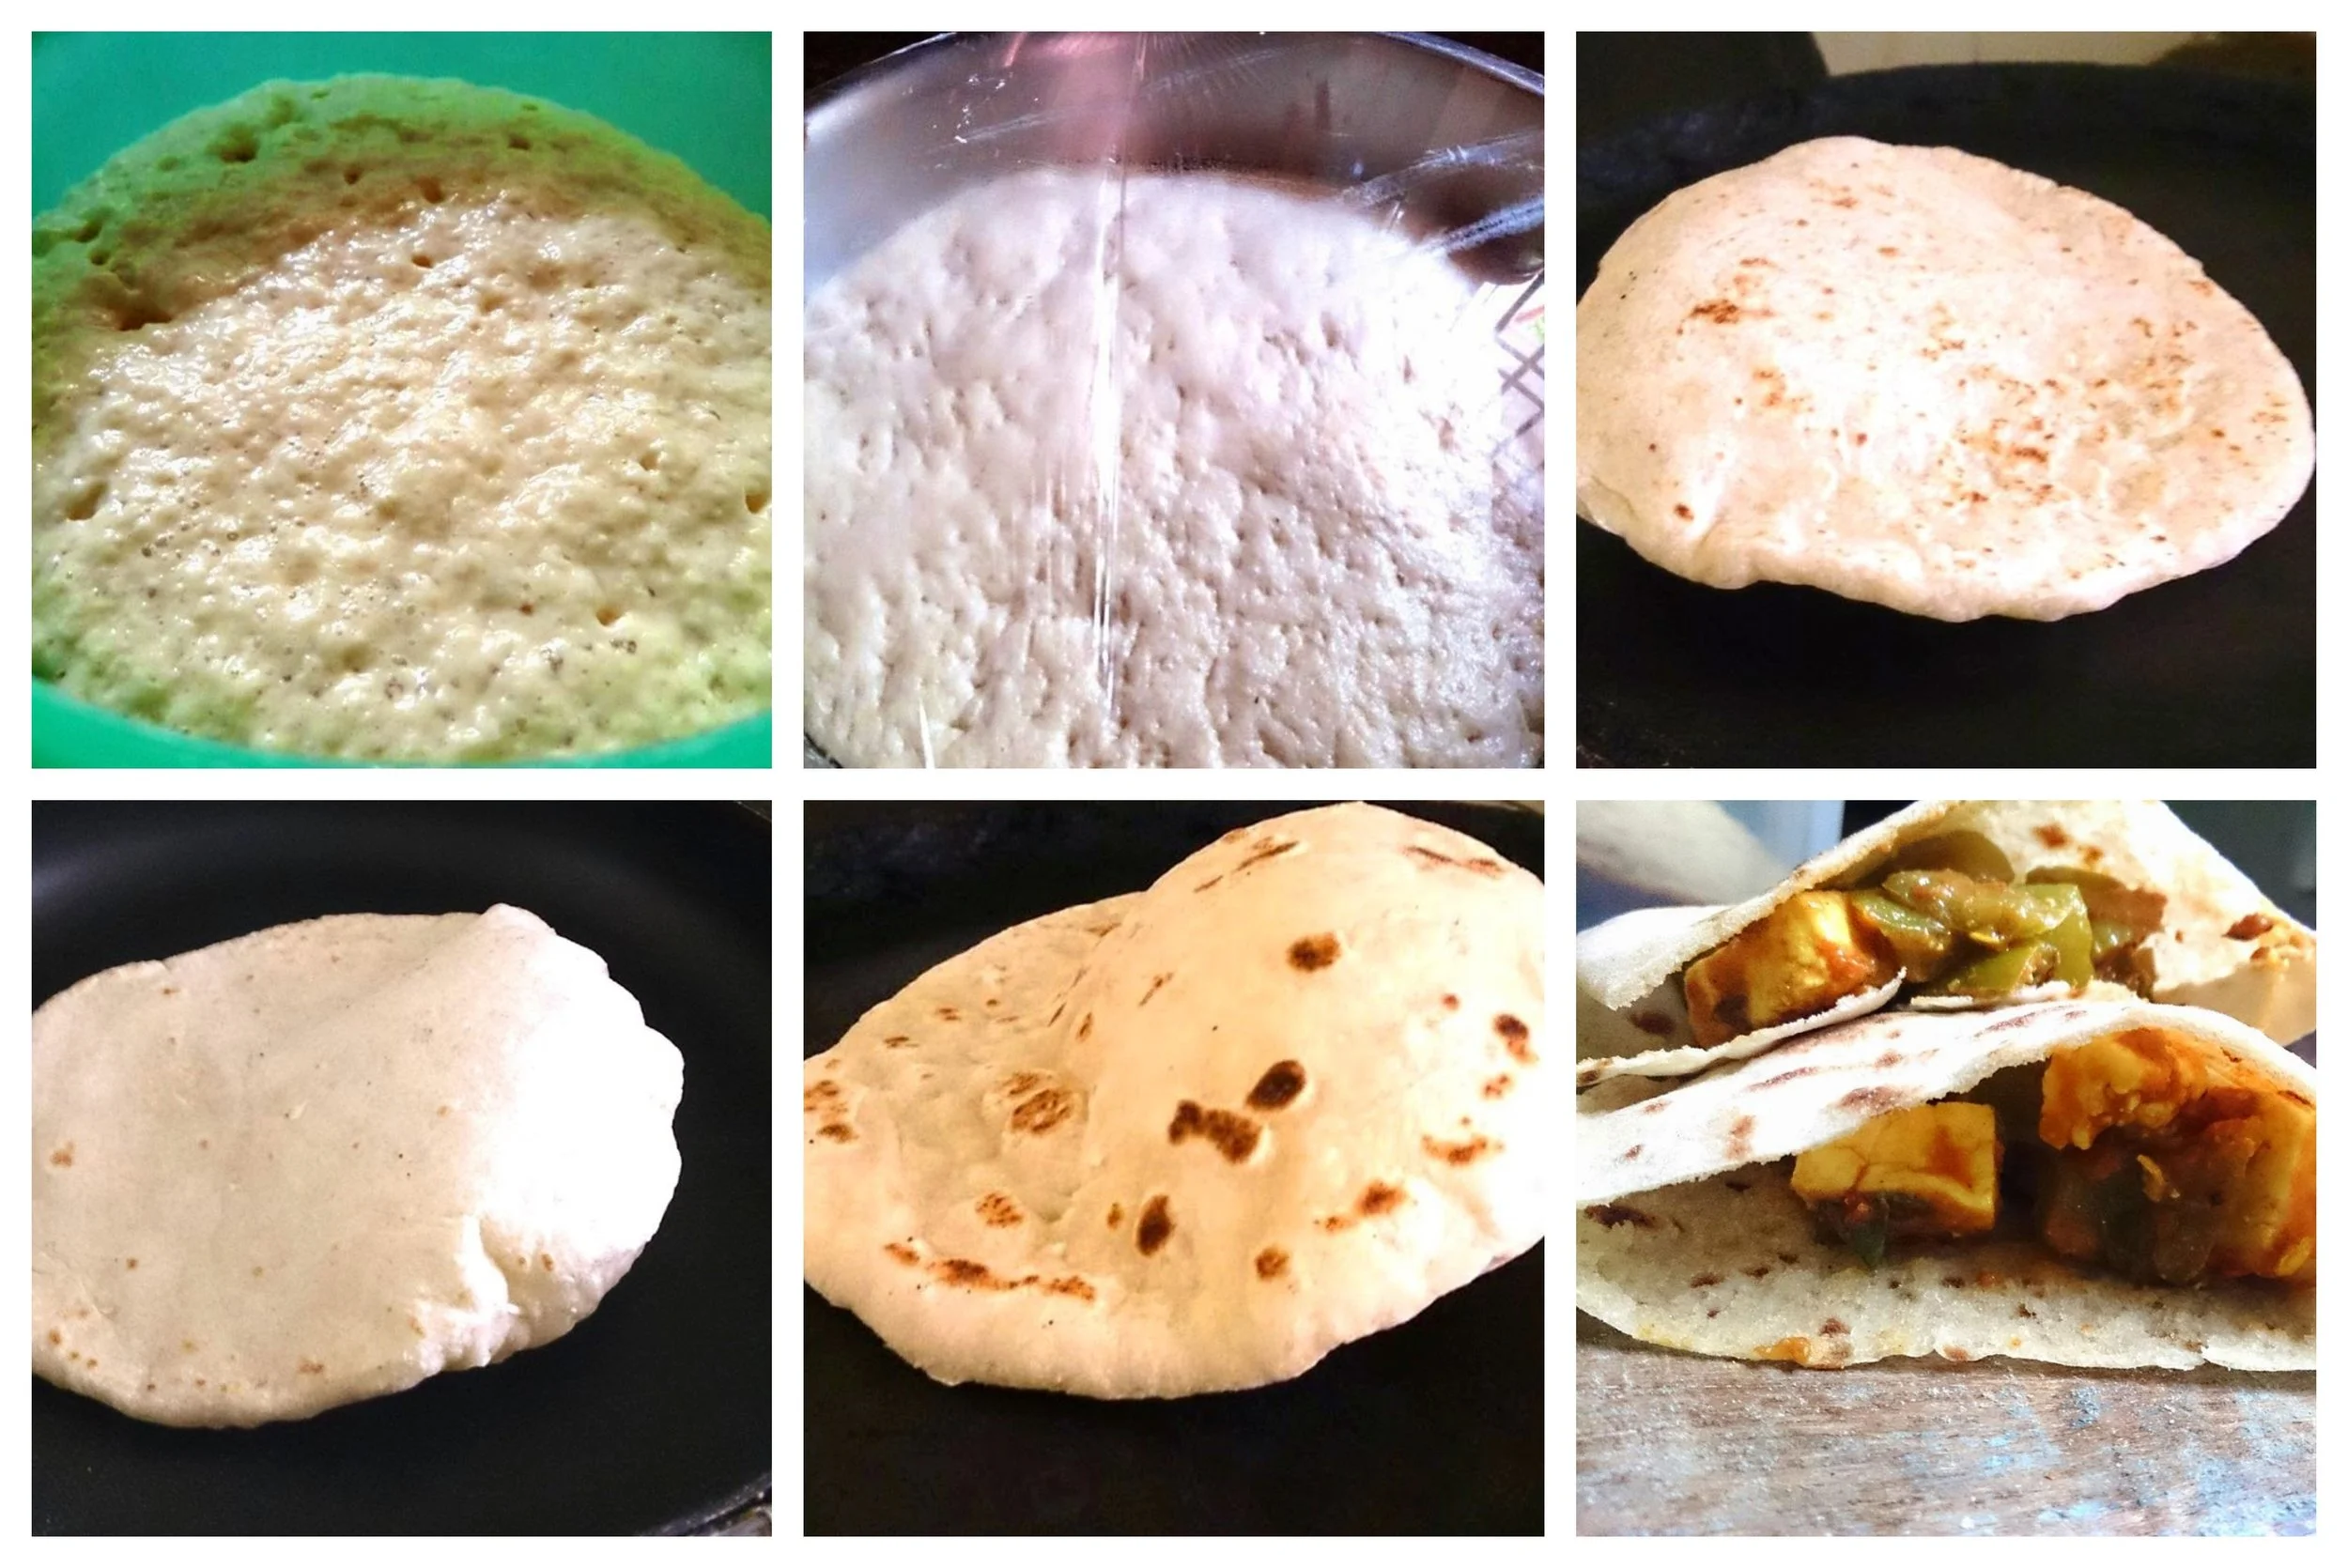
6. After you have finished rolling small discs of pitas, ( after resting the small balls covered for 10 minutes ) heat up a skillet, preferably nonstick as I find it helps to puff up.
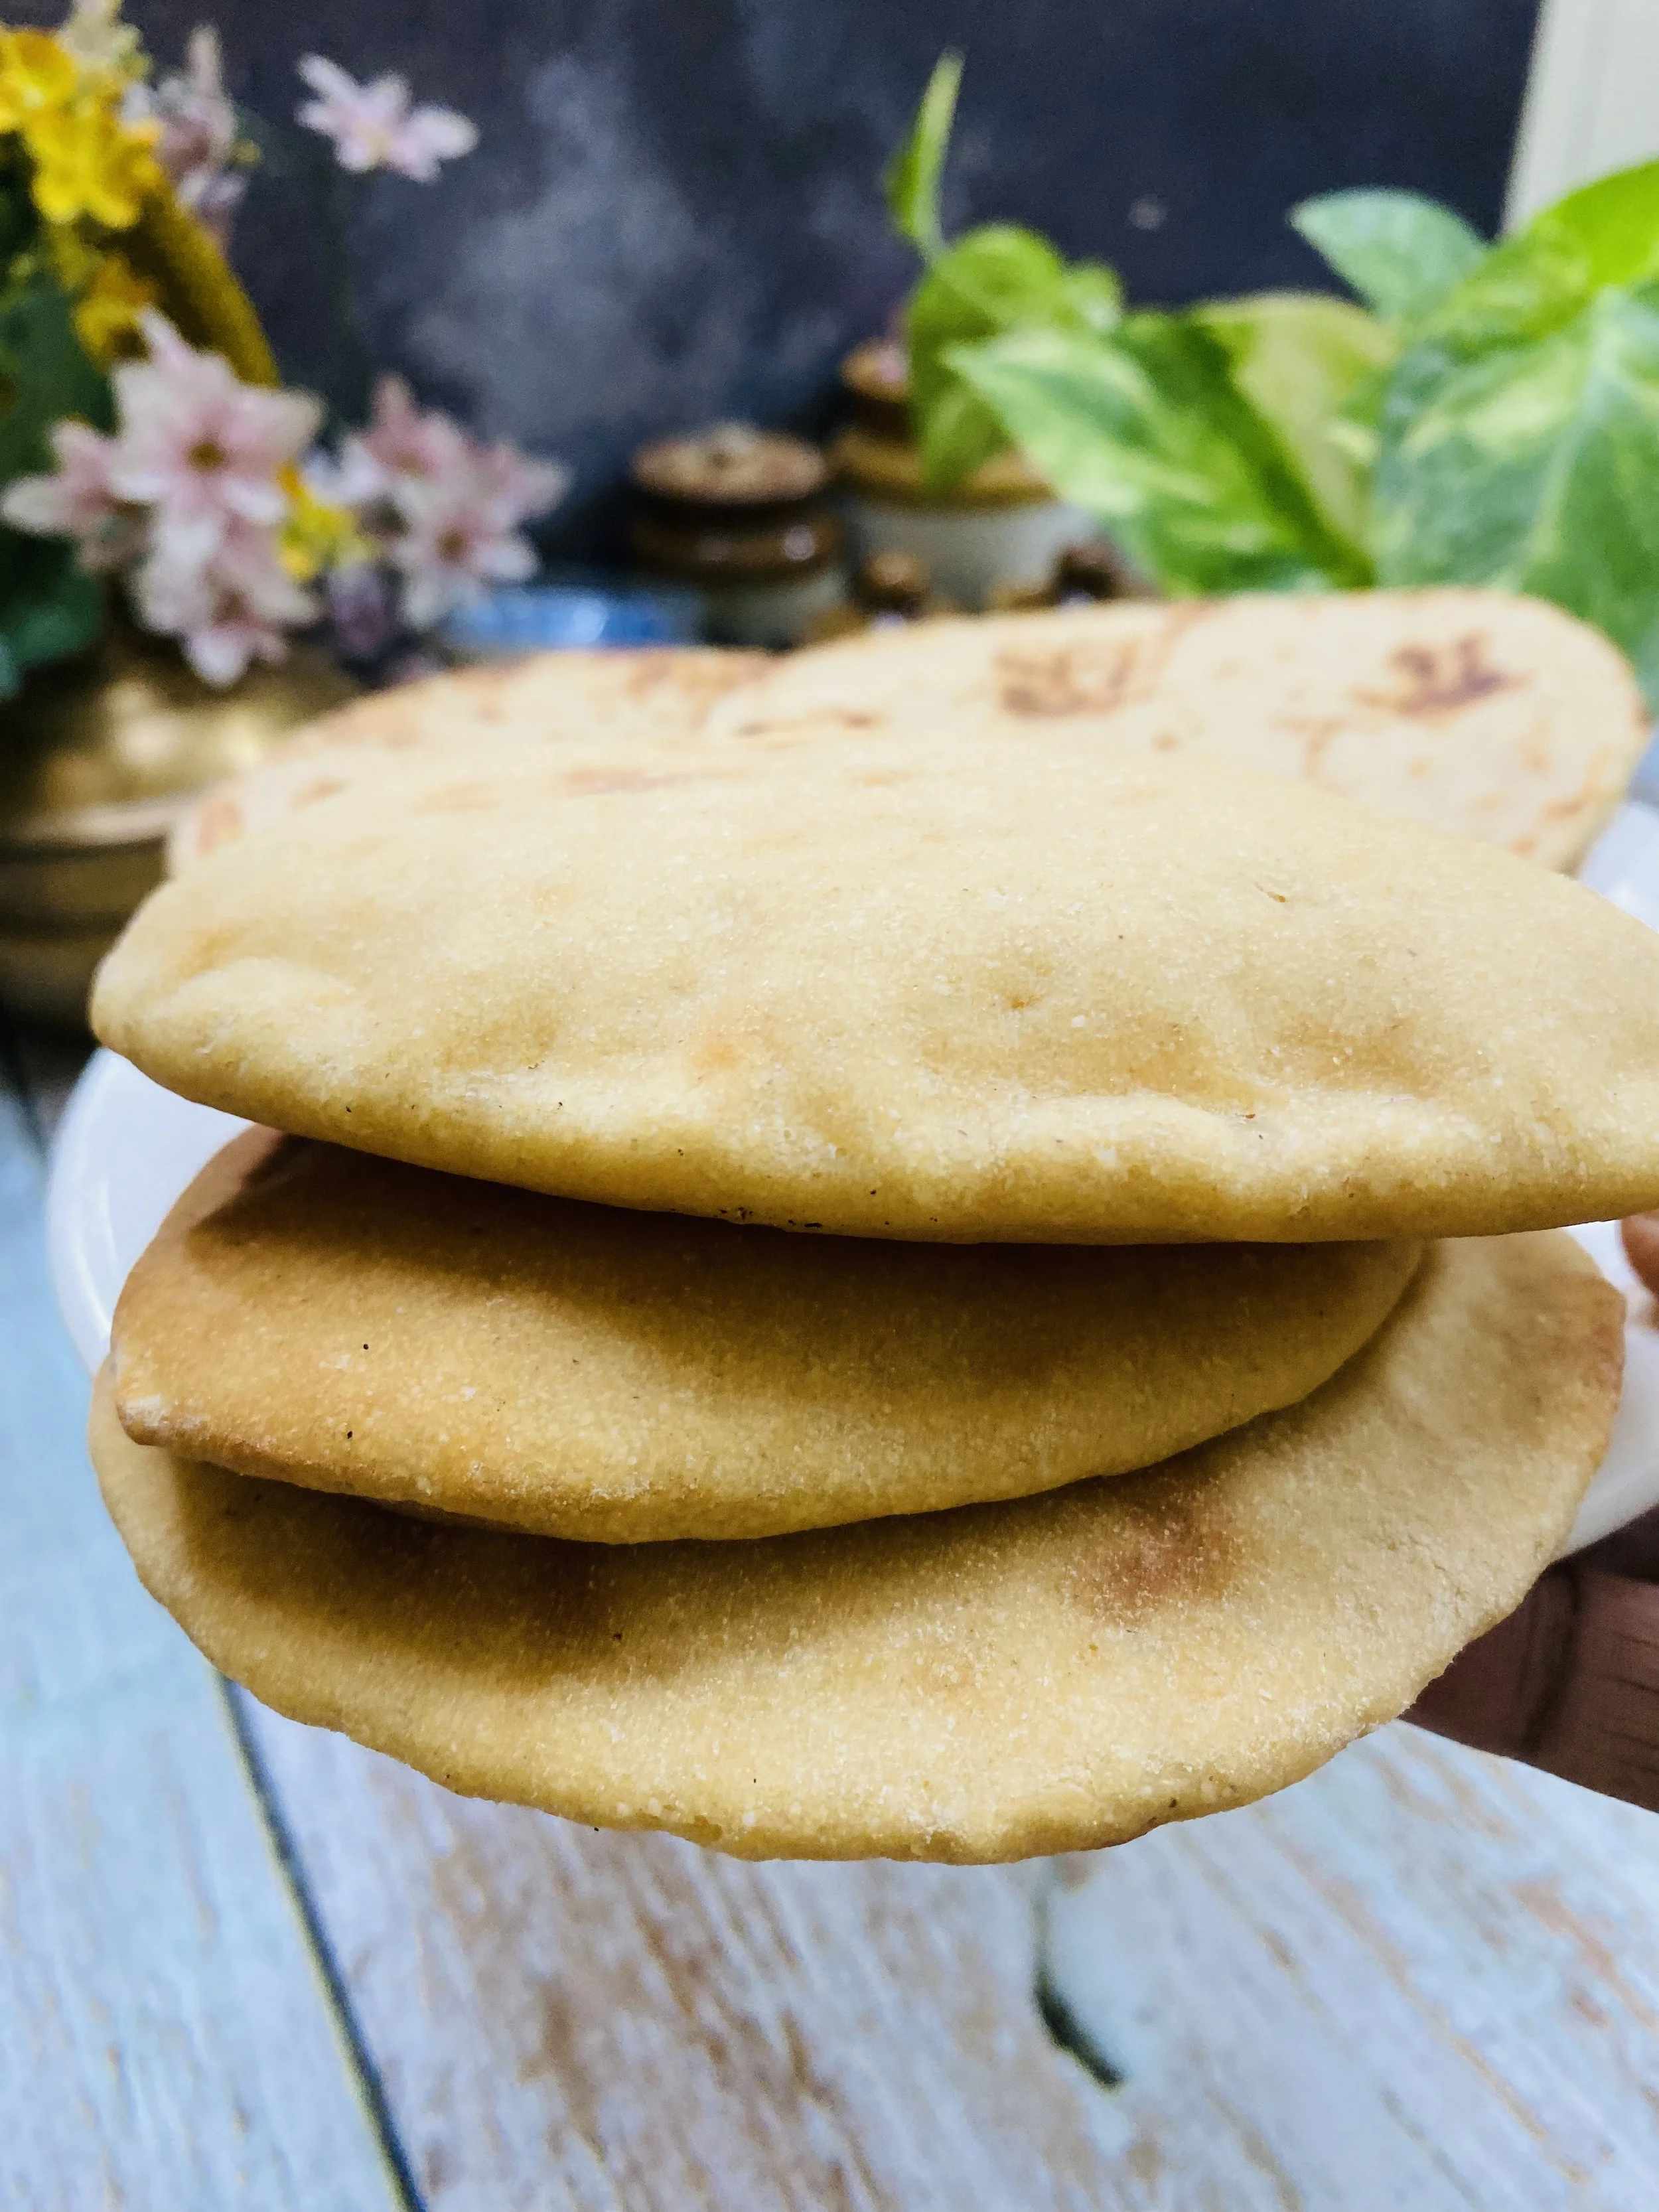
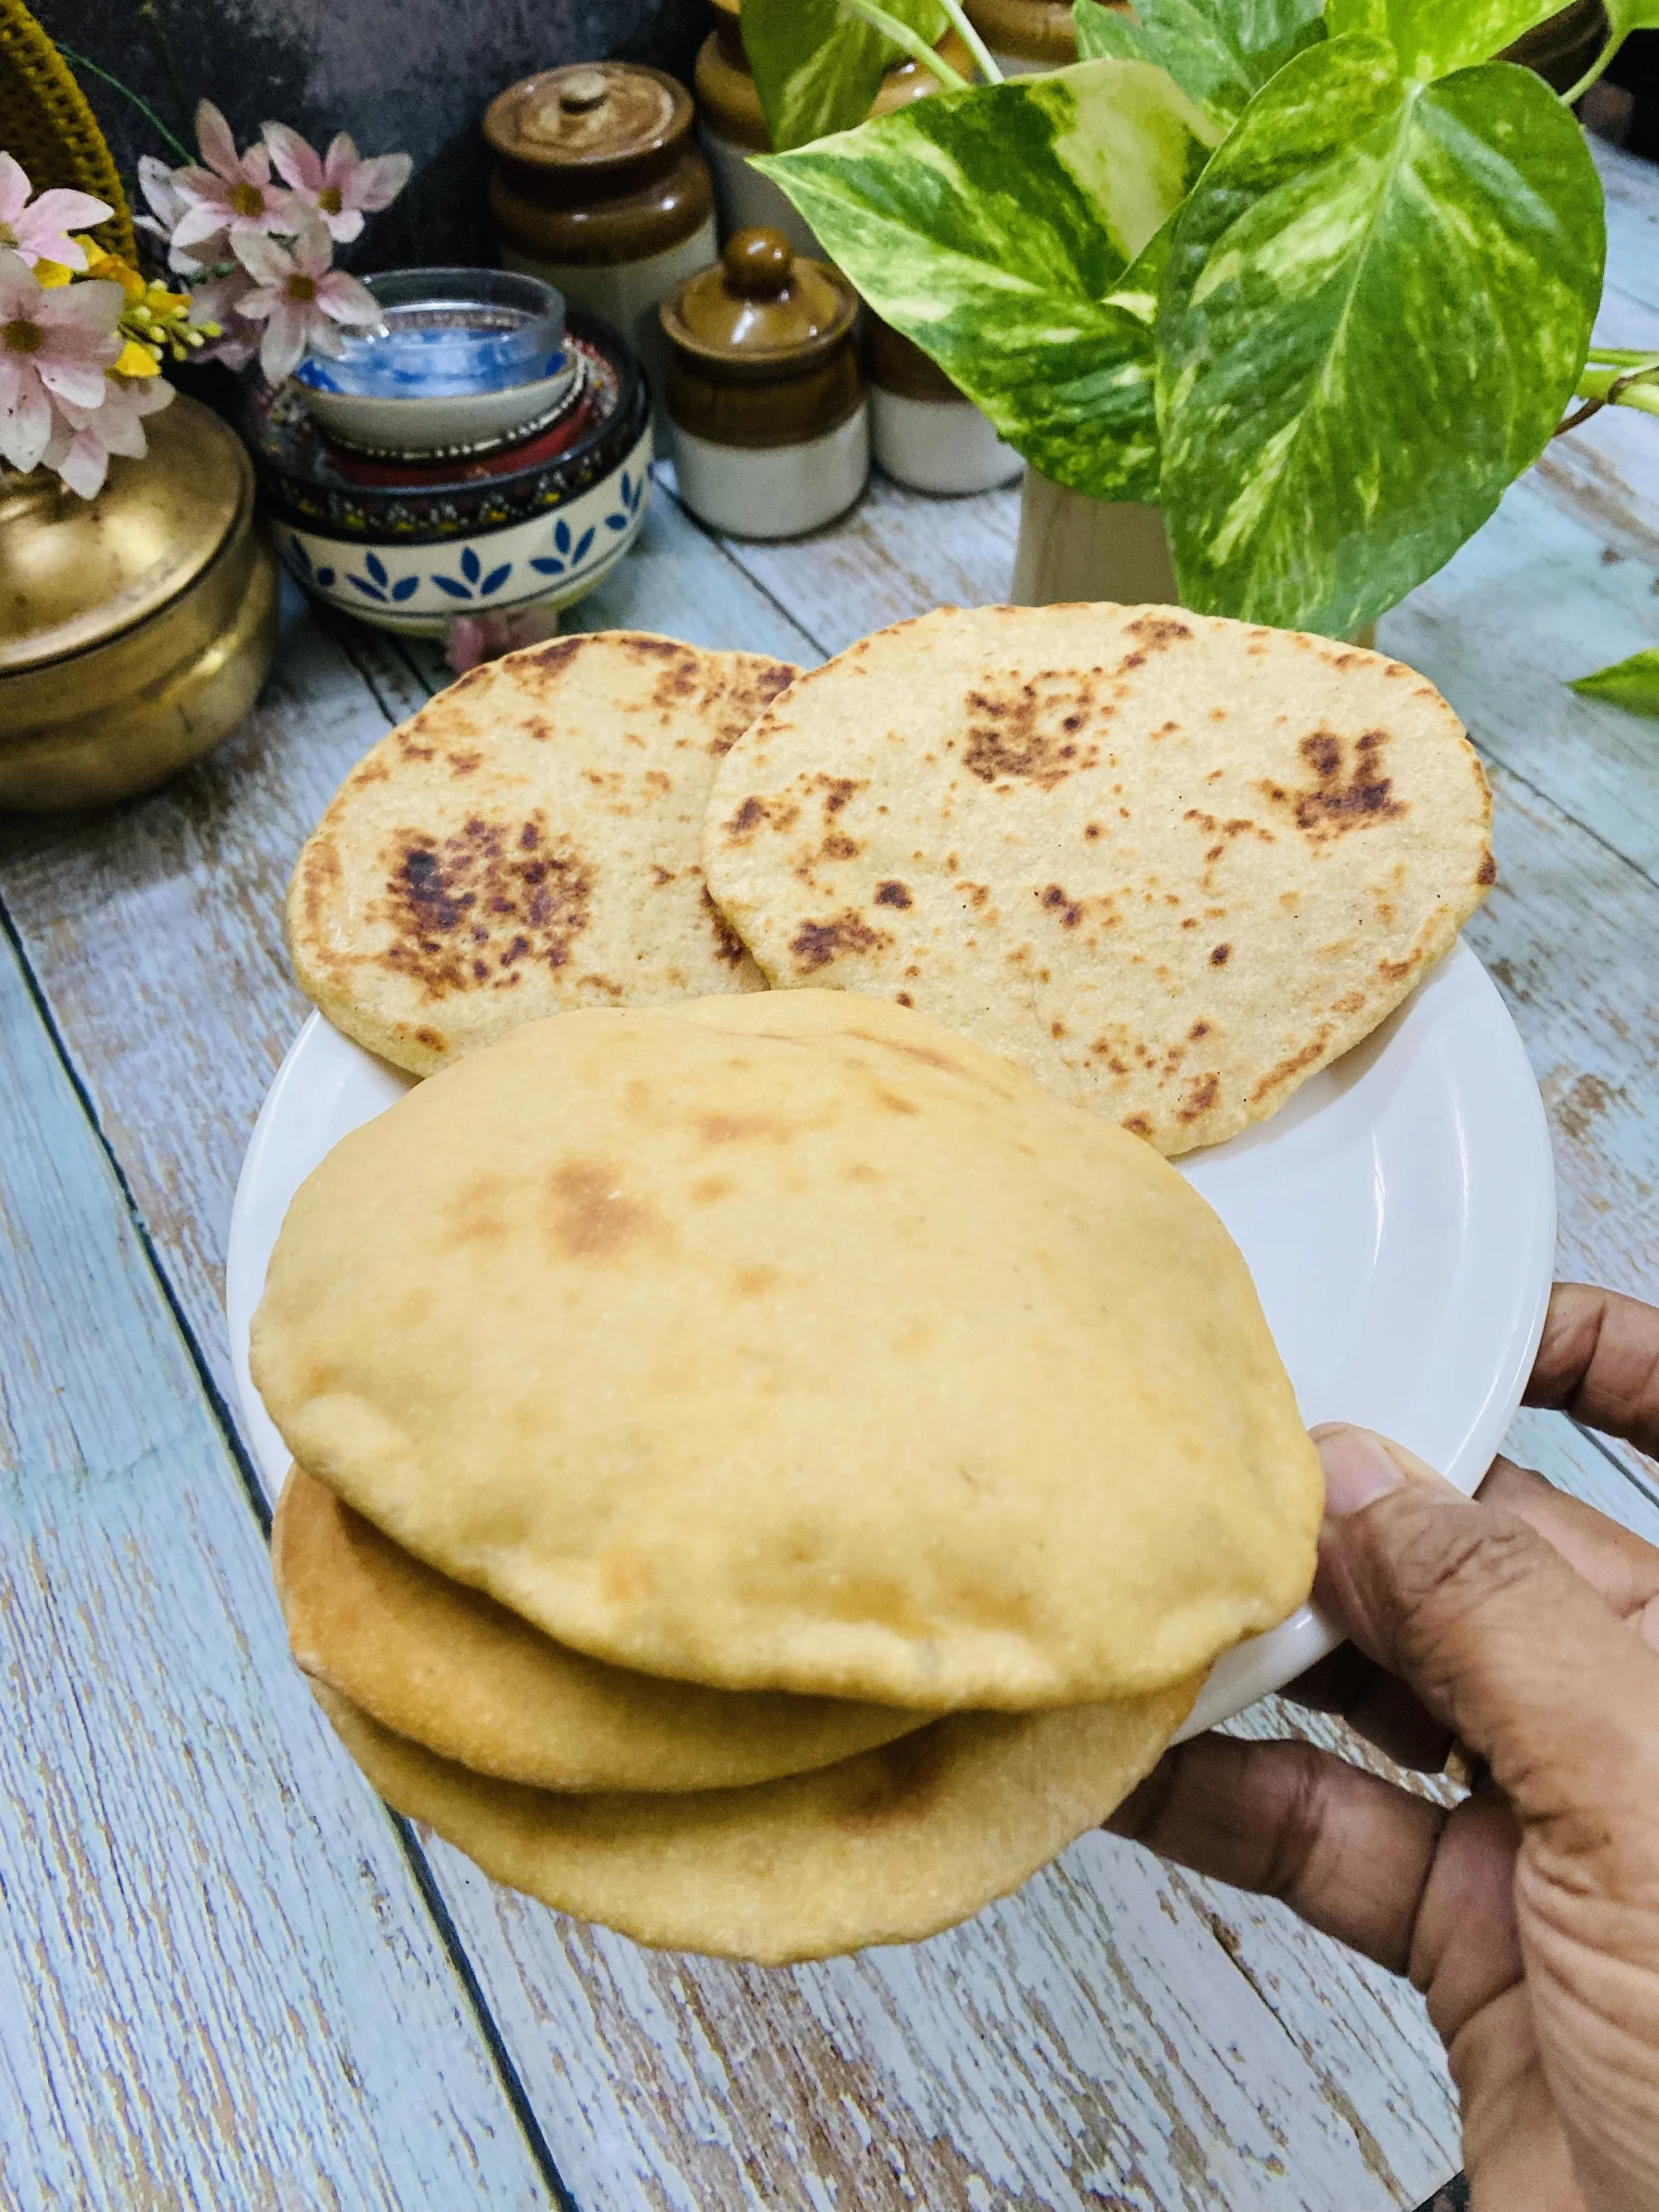
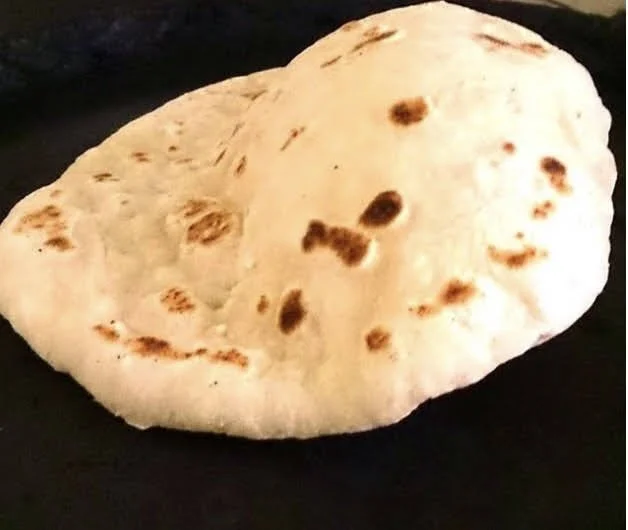
When the skillet is heated well, place a pita round in the centre, wait till you see the small bubbles forming, flip on other side, keep flipping till you see the pita bread puffing up just like phulkas or use a cloth gently to help puff up.
Light brown spots appear as the pita bread puff up, remove and place another one, keep some discs ready and covered.
When cooled, you can use them to stuff some vegetable fillings of your choice and use as a sandwich or as a wrap. This is sure to please kids and a great after school lunch idea , non messy and filling too.
Note : unlike normal pita breads made with completely refined flour or completely wheat flour, these will not puff up or become a ballon completely as we are using oats and millet flour which are gluten free.
For Normal pitas :
Follow this recipe by using only whole wheat flour or a mix of all purpose flour and whole wheat flour to get those big puffed pita breads, for healthier options , chooose healthy flours
6.To bake pita bread in oven.
Preheat oven to 450 degrees f/ 250 degrees C, place a baking sheet inside to heat up, place all the rolled out pita in the baking sheet carefully, they will start to puff up in a minute and within 4 minutes they will be done , all puffed up and you can keep longer for more brown colour.When it is fully puffed, up, it is done, remove and cover the baked pita bread with a soft cloth.
Use pita breads as it is or stuffed with some interesting fillings for children.They make a great filling snack .
Store pita bread just as you would store breads.
The risen pita dough can also be stored in the refrigerator upto a week.
Use as much dough as necessary to make pita breads and store remaining dough in the fridge.
Tips
To help the pita bread puff up nicely and fully, make sure your oven is preheated well and the baking sheet as well.
The skillet for stove top cooking also needs to be very hot initially, then reduce heat to prevent too much browning.
To get good pita pockets, roll out slightly thicker.
Make sure to rest the balls meant to be rolled out into pita bread before baking or cooking on stove top for at least 10 minutes to get good balloon like pitas.