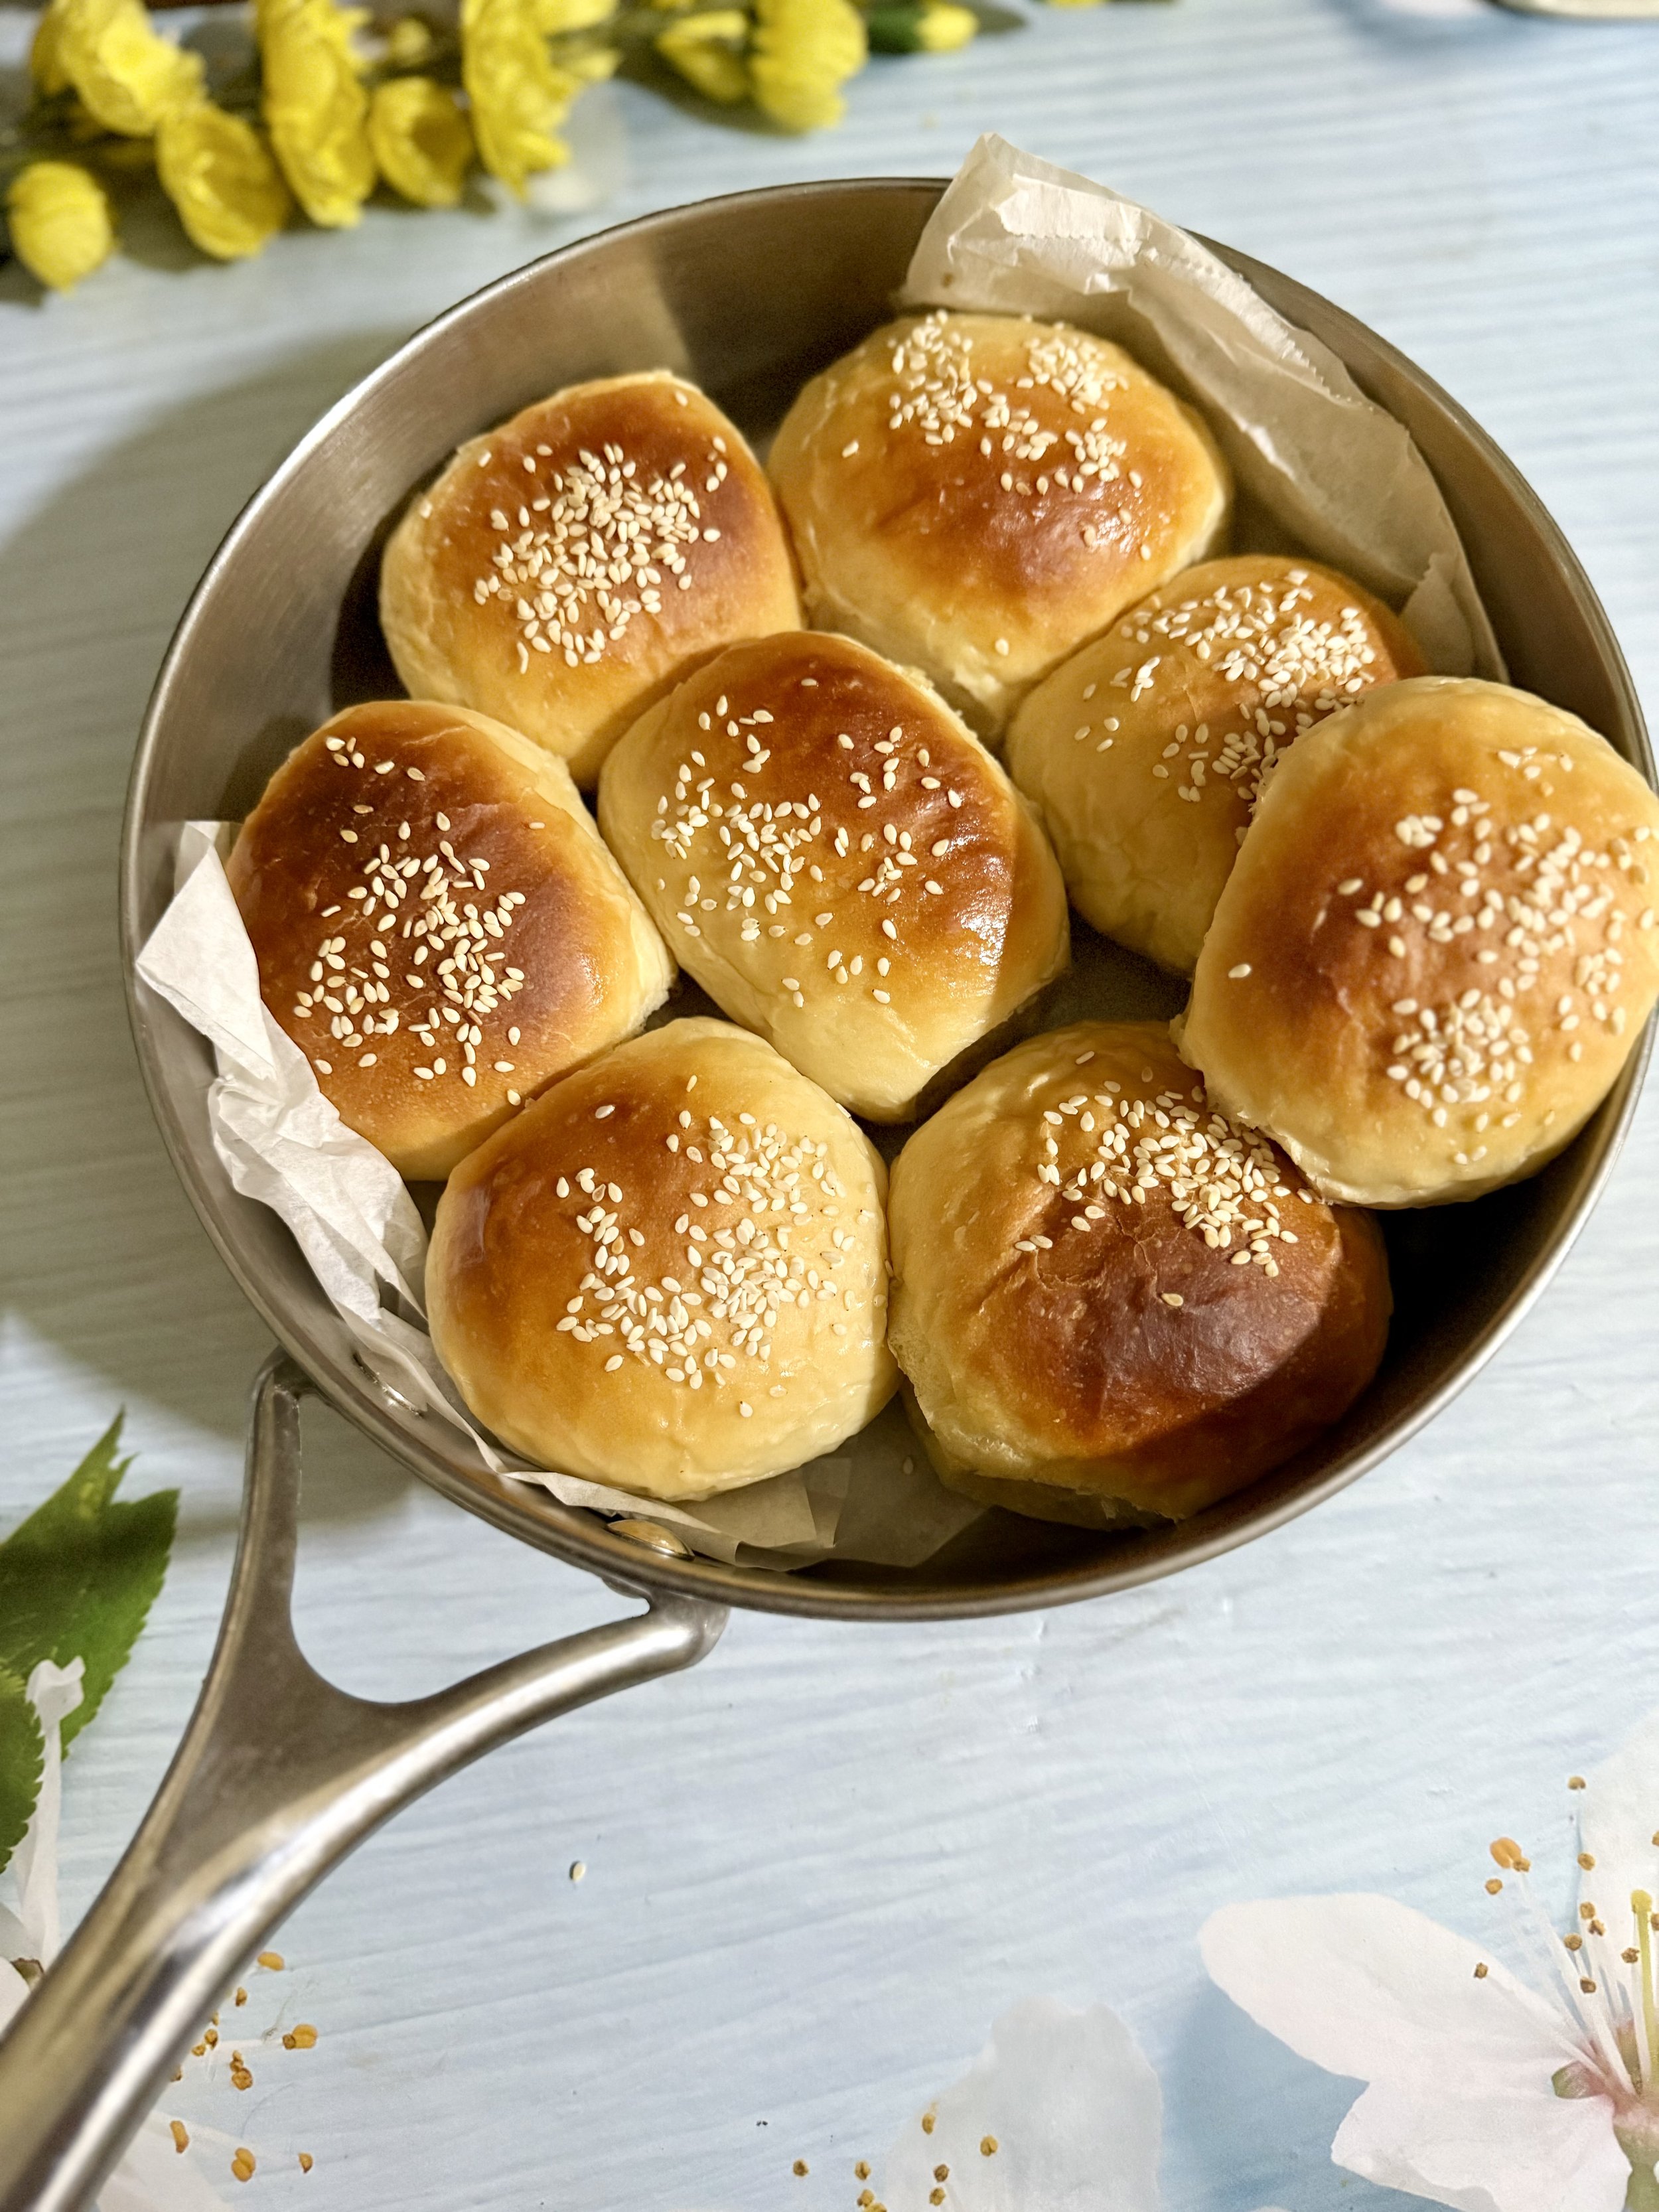
Pav bun | Laadi Pav
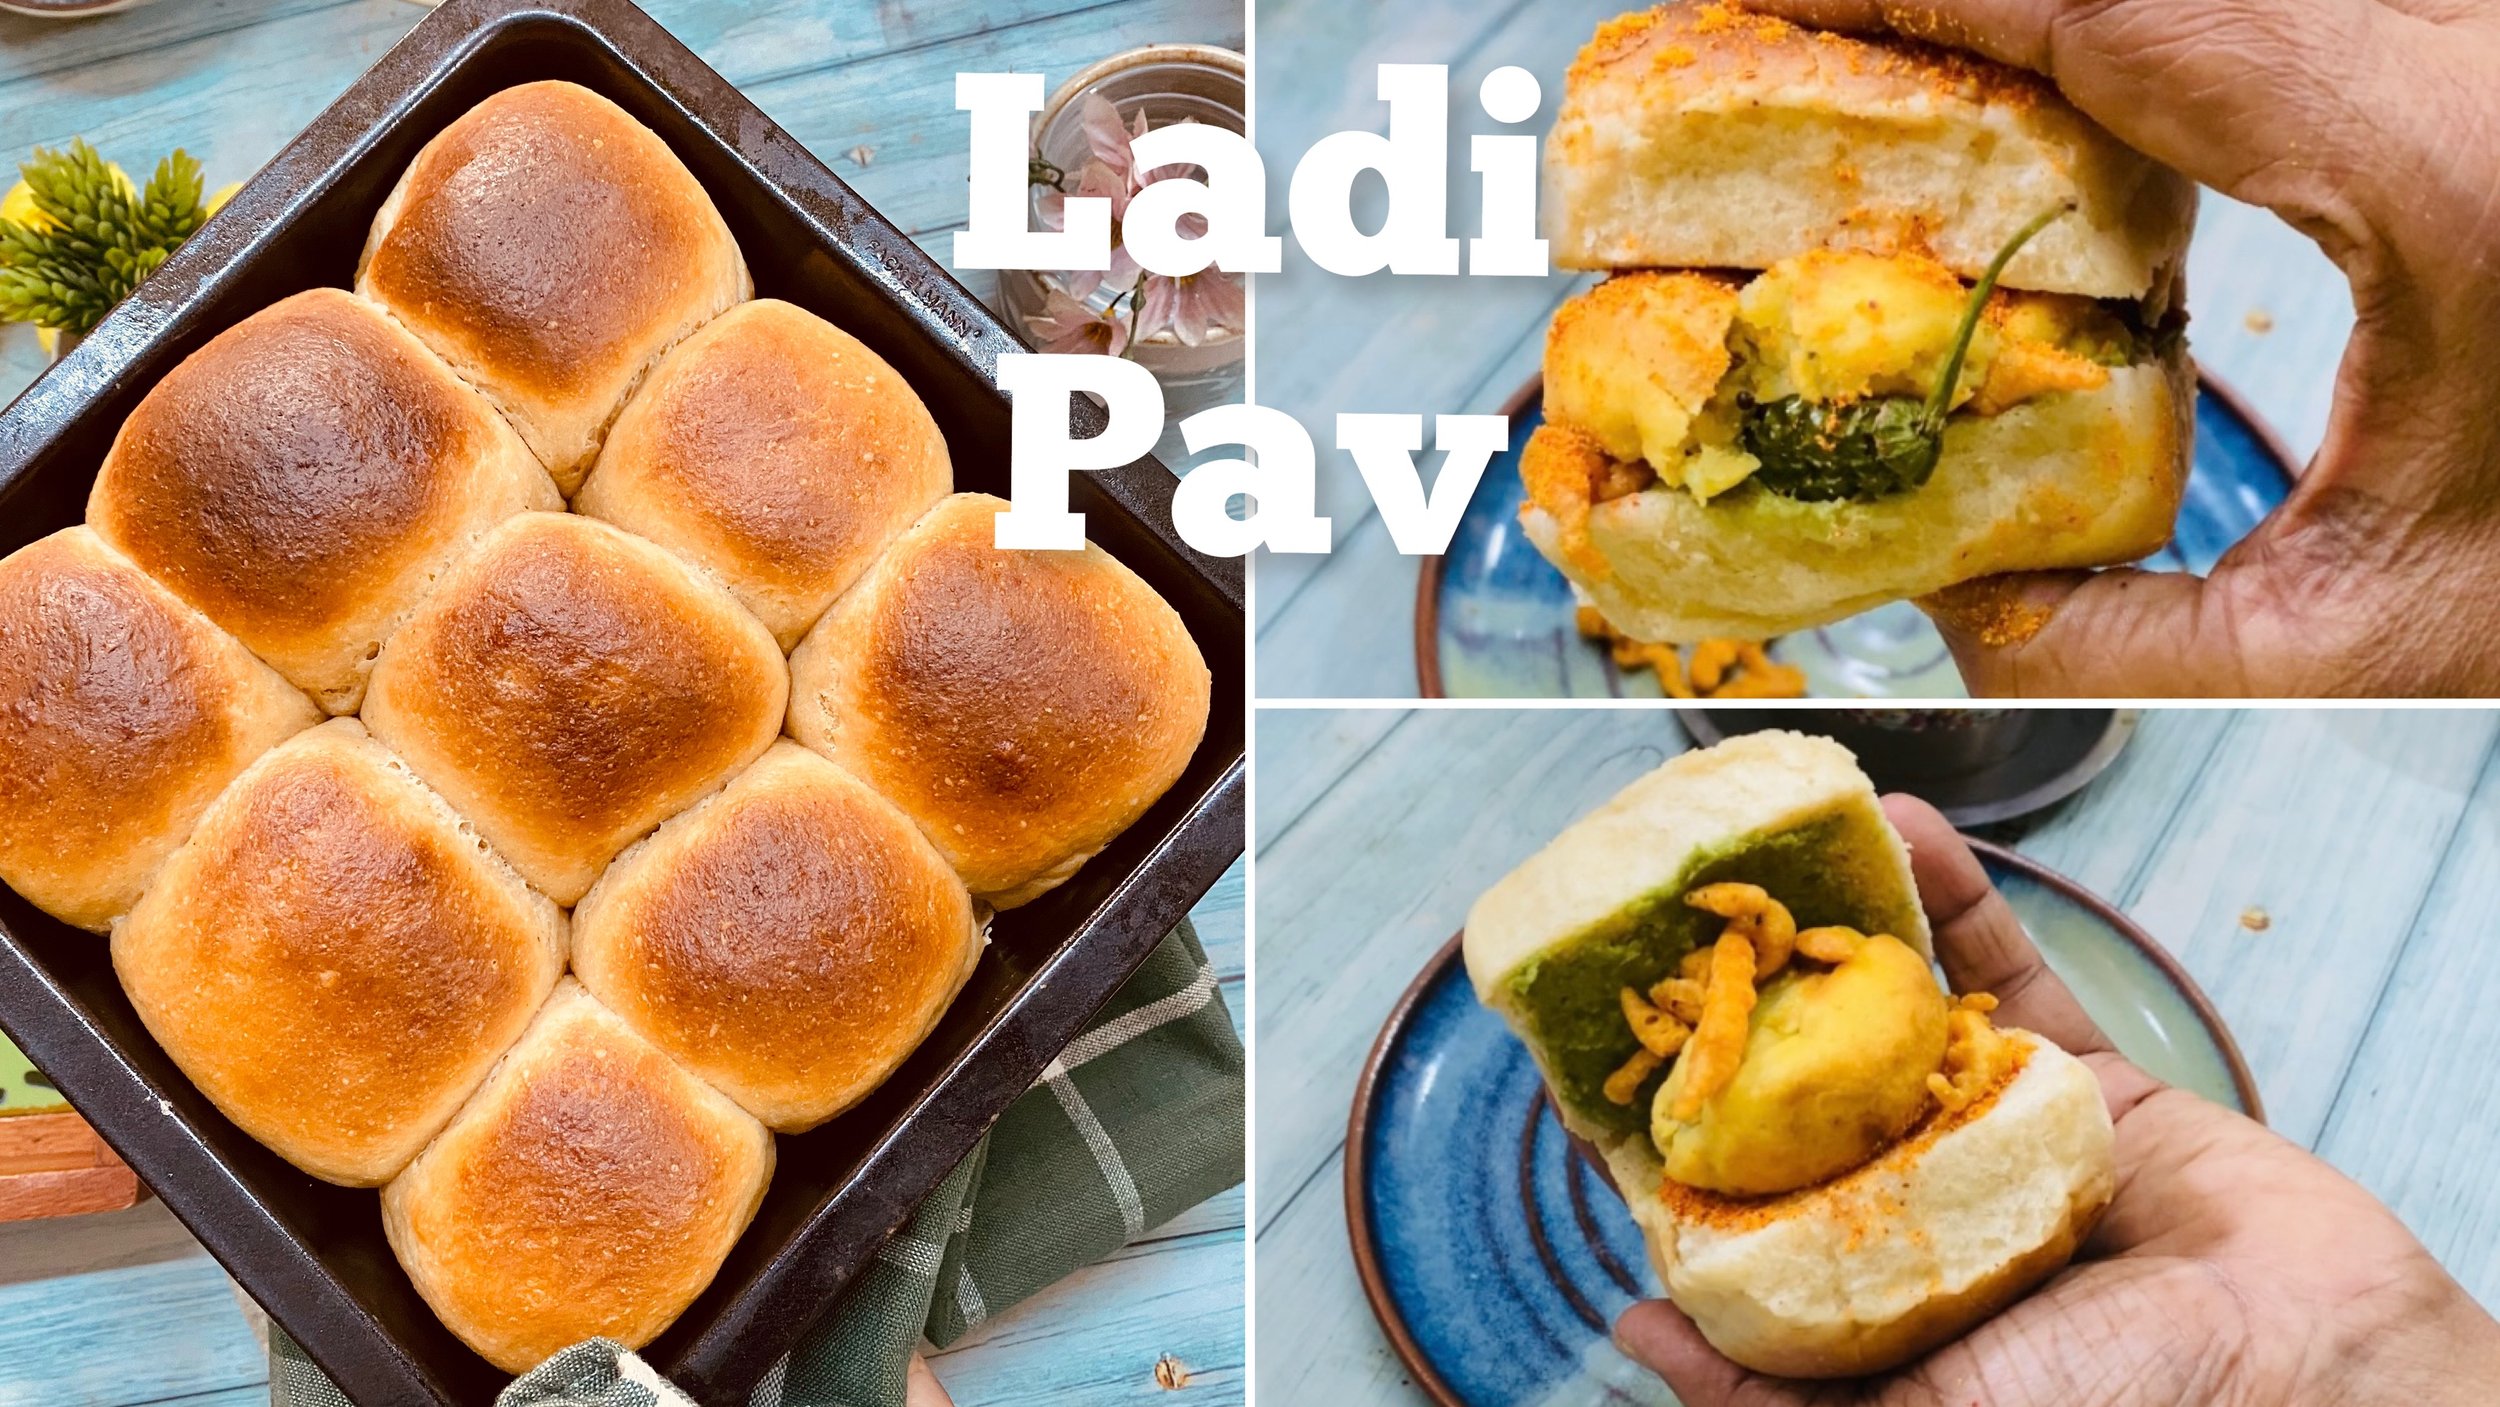
Pav buns | Laadi Pav

Pav buns
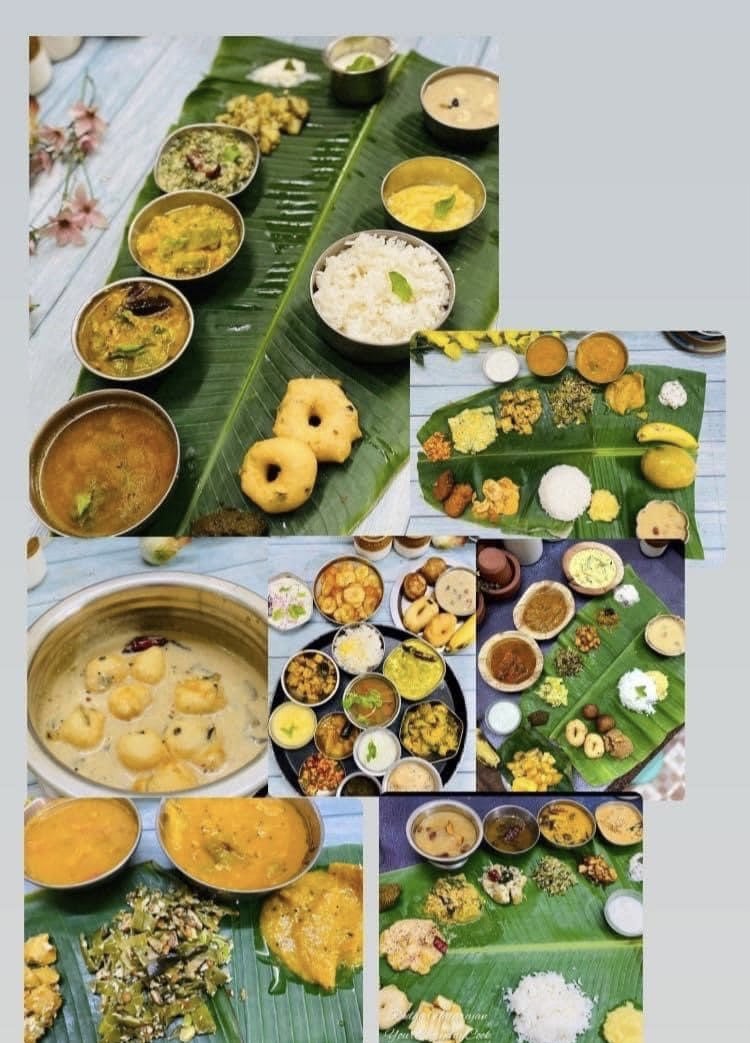
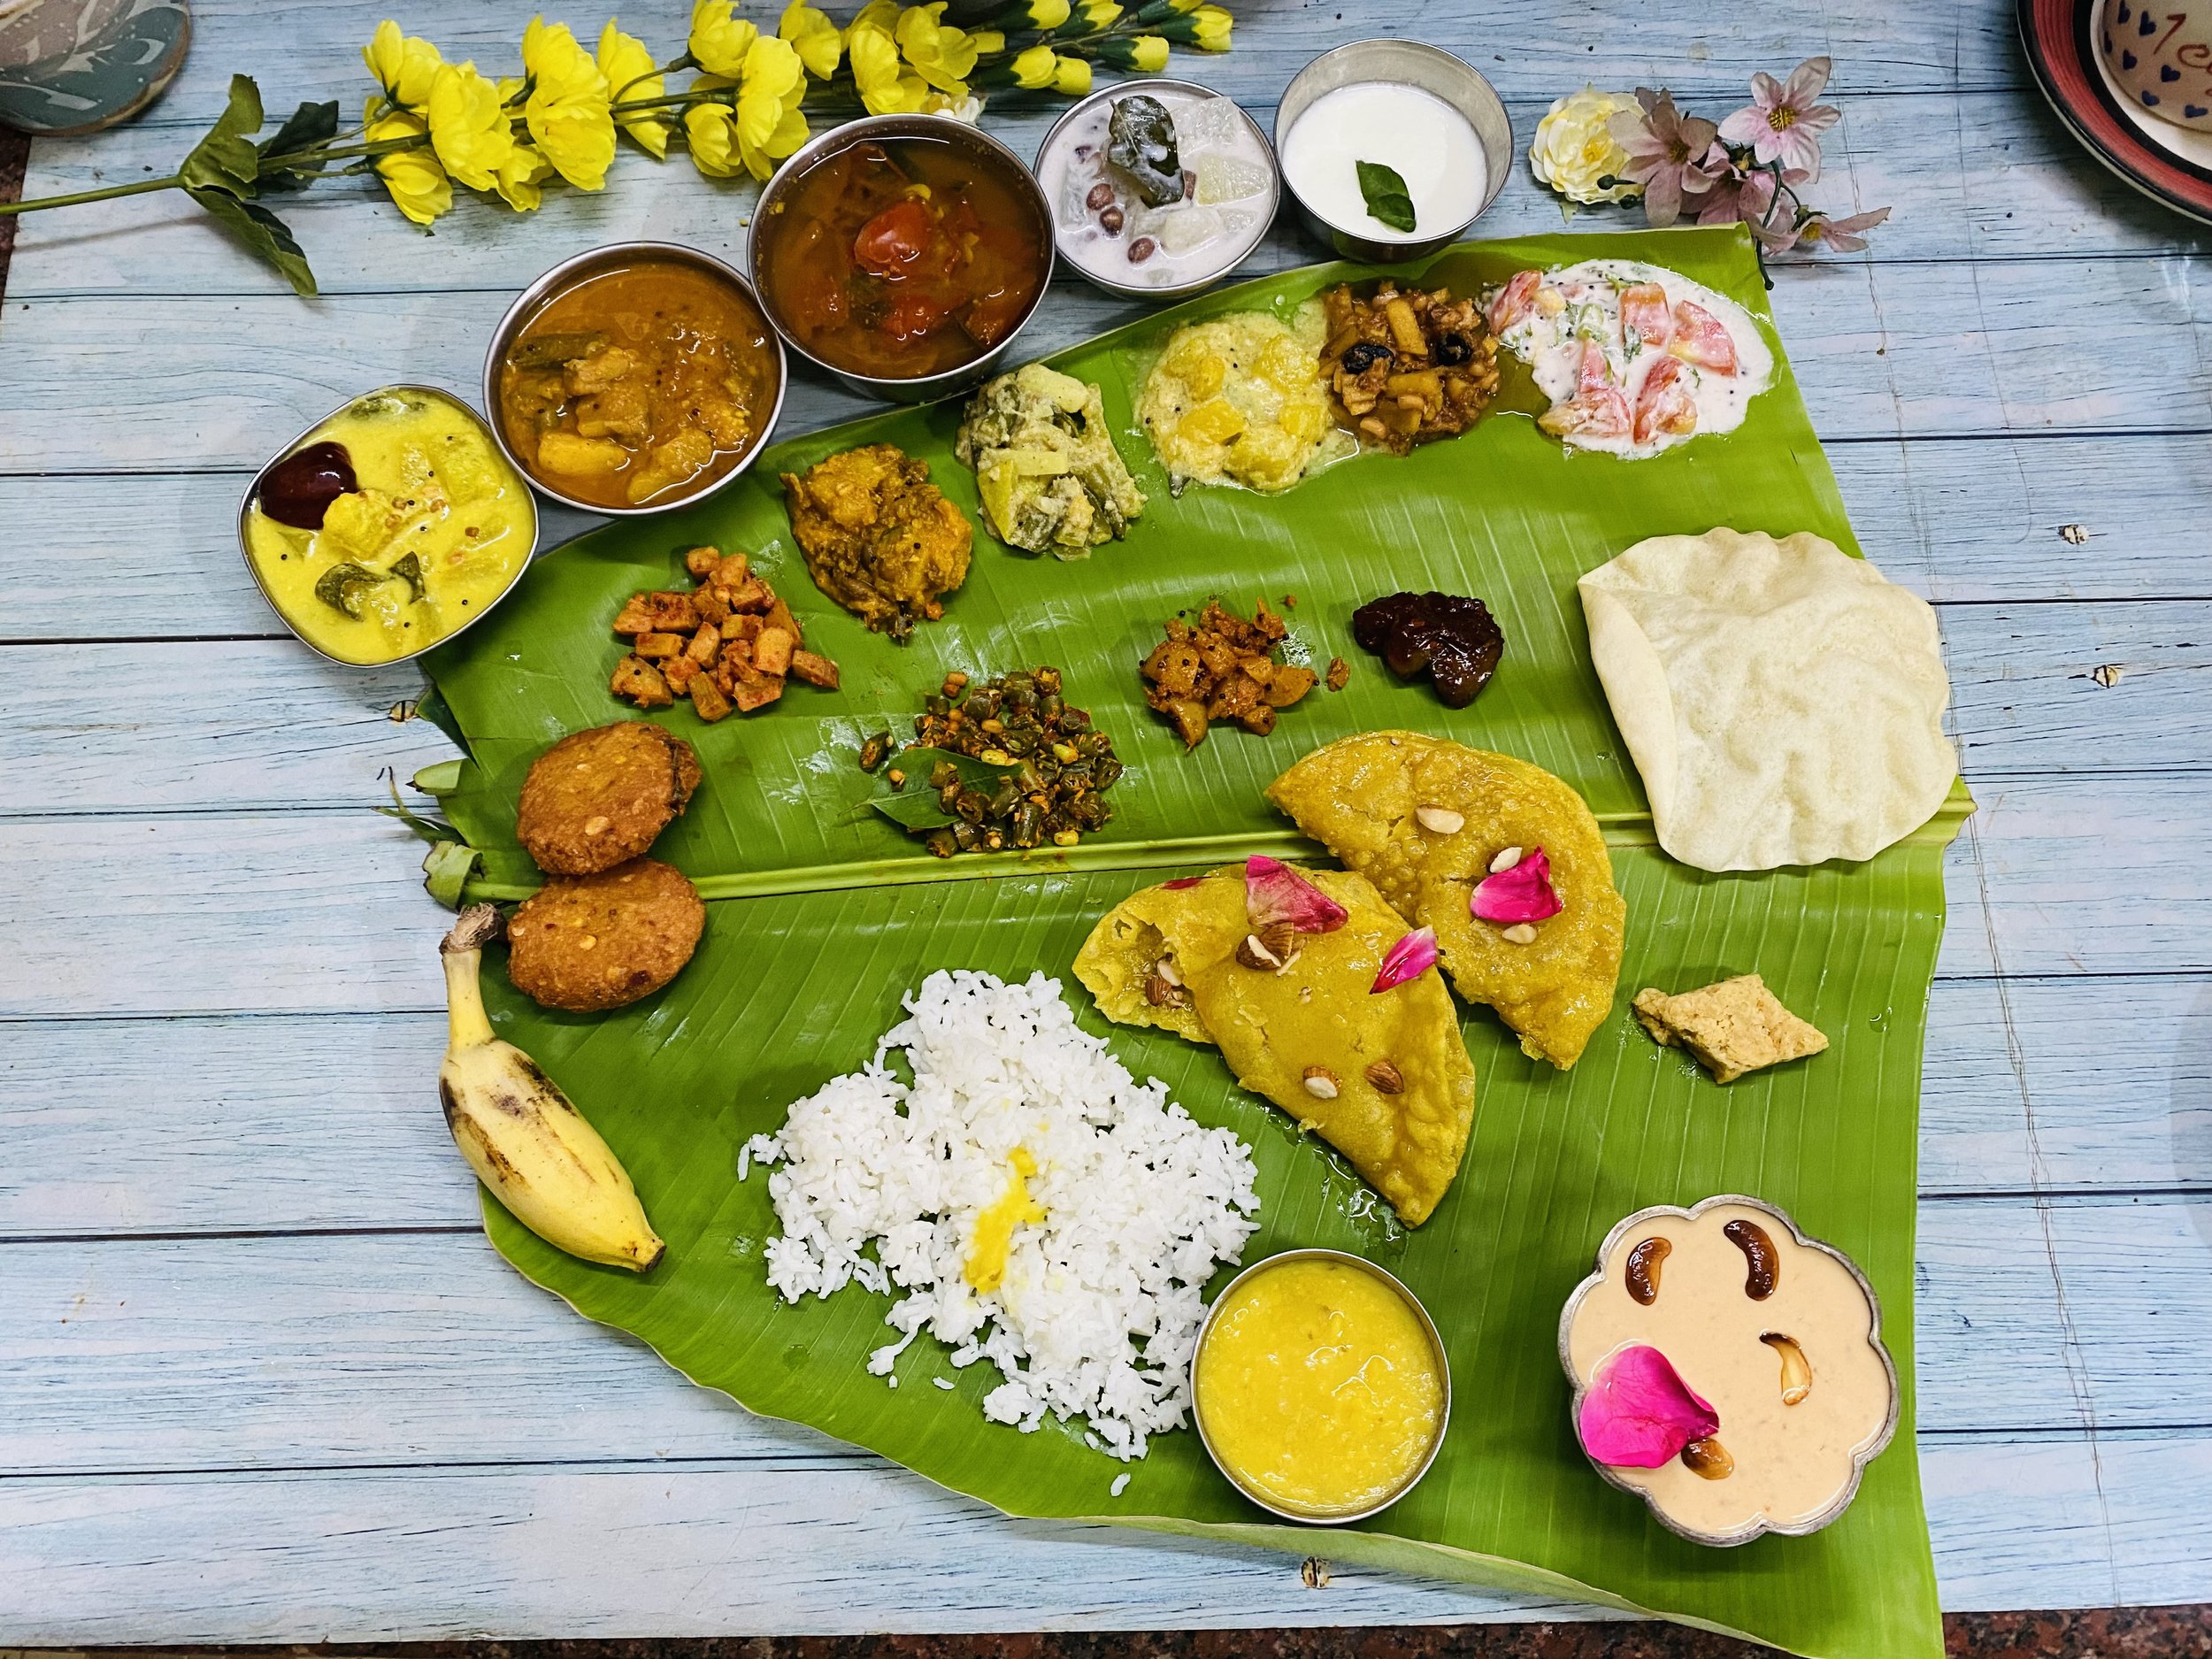
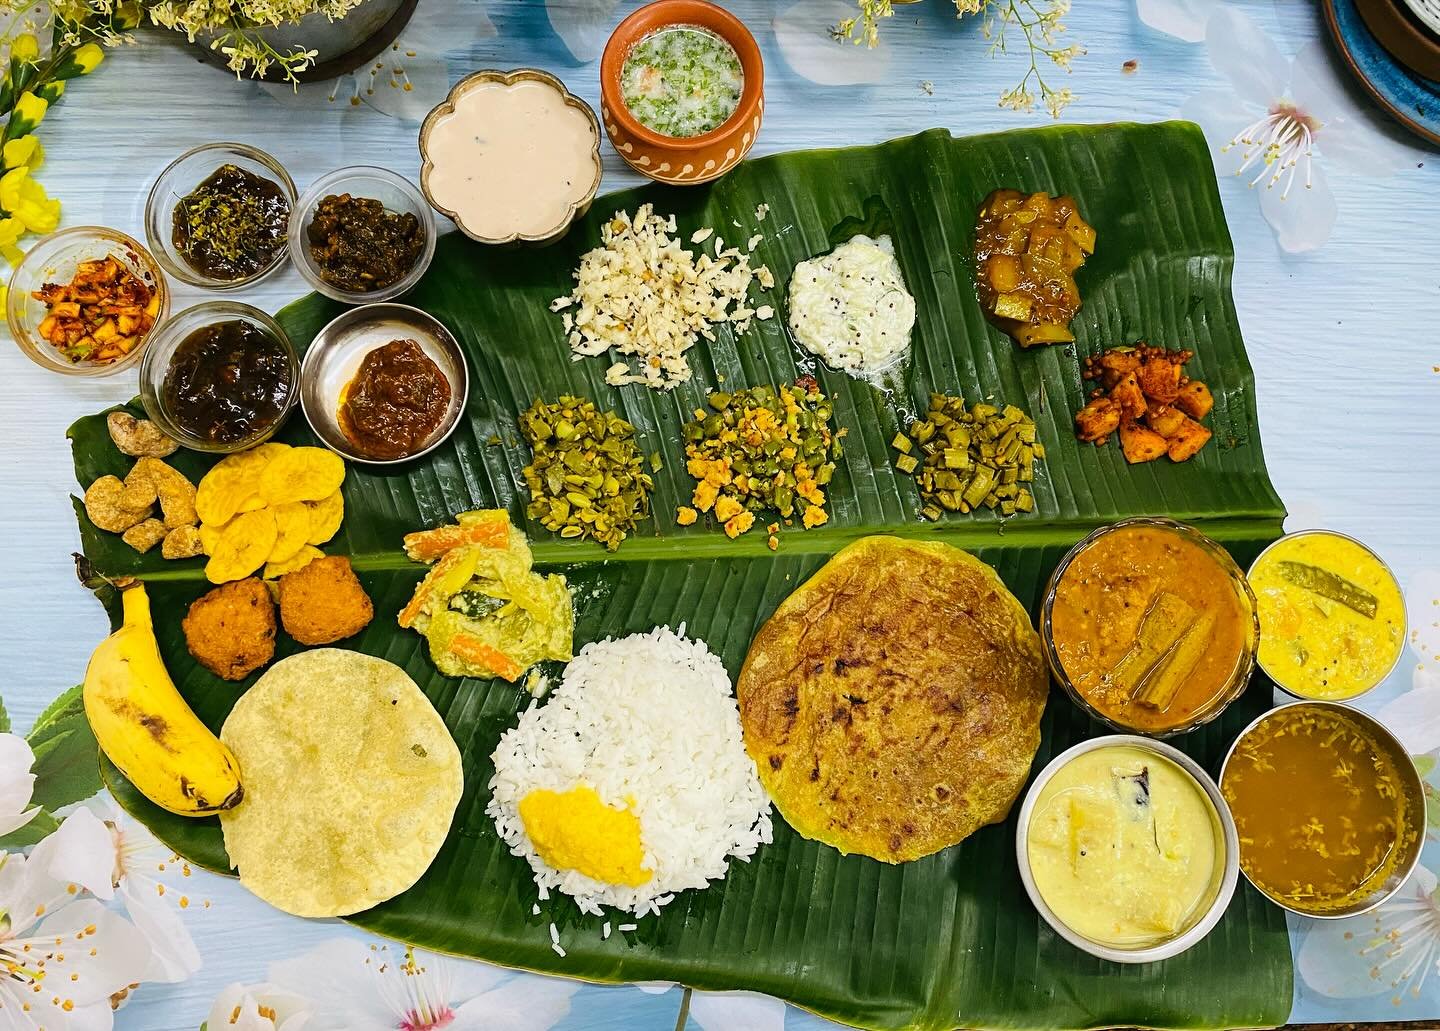
Delicious pav buns or Ladi paav as it is known in Mumbai and parts of Maharashtra are really super simple to bake if you keep few points while kneading . Instructions will help you to knead a fantastic dough to bake soft pillowy pav buns for your Vada pav or for pav Bhaaji or Dabeli or Misal pav .
Delicious pav breads baked at home in a grinder using the dough attachment. Believe it or not these are the best pav breads I have baked with bread flour and kneaded in the grinder . Most Indians have this wet grinder which comes with few accessories, one is the handy dough attachment for kneading chapati dough .use it and check for yourself . You too can become baking pro ! Half the battle is won if you have kneaded the dough perfectly, this is perfectly achieved by using the dough attachment .
Totally mess free and worth it esp for seniors and elderly who find hand kneading painful .
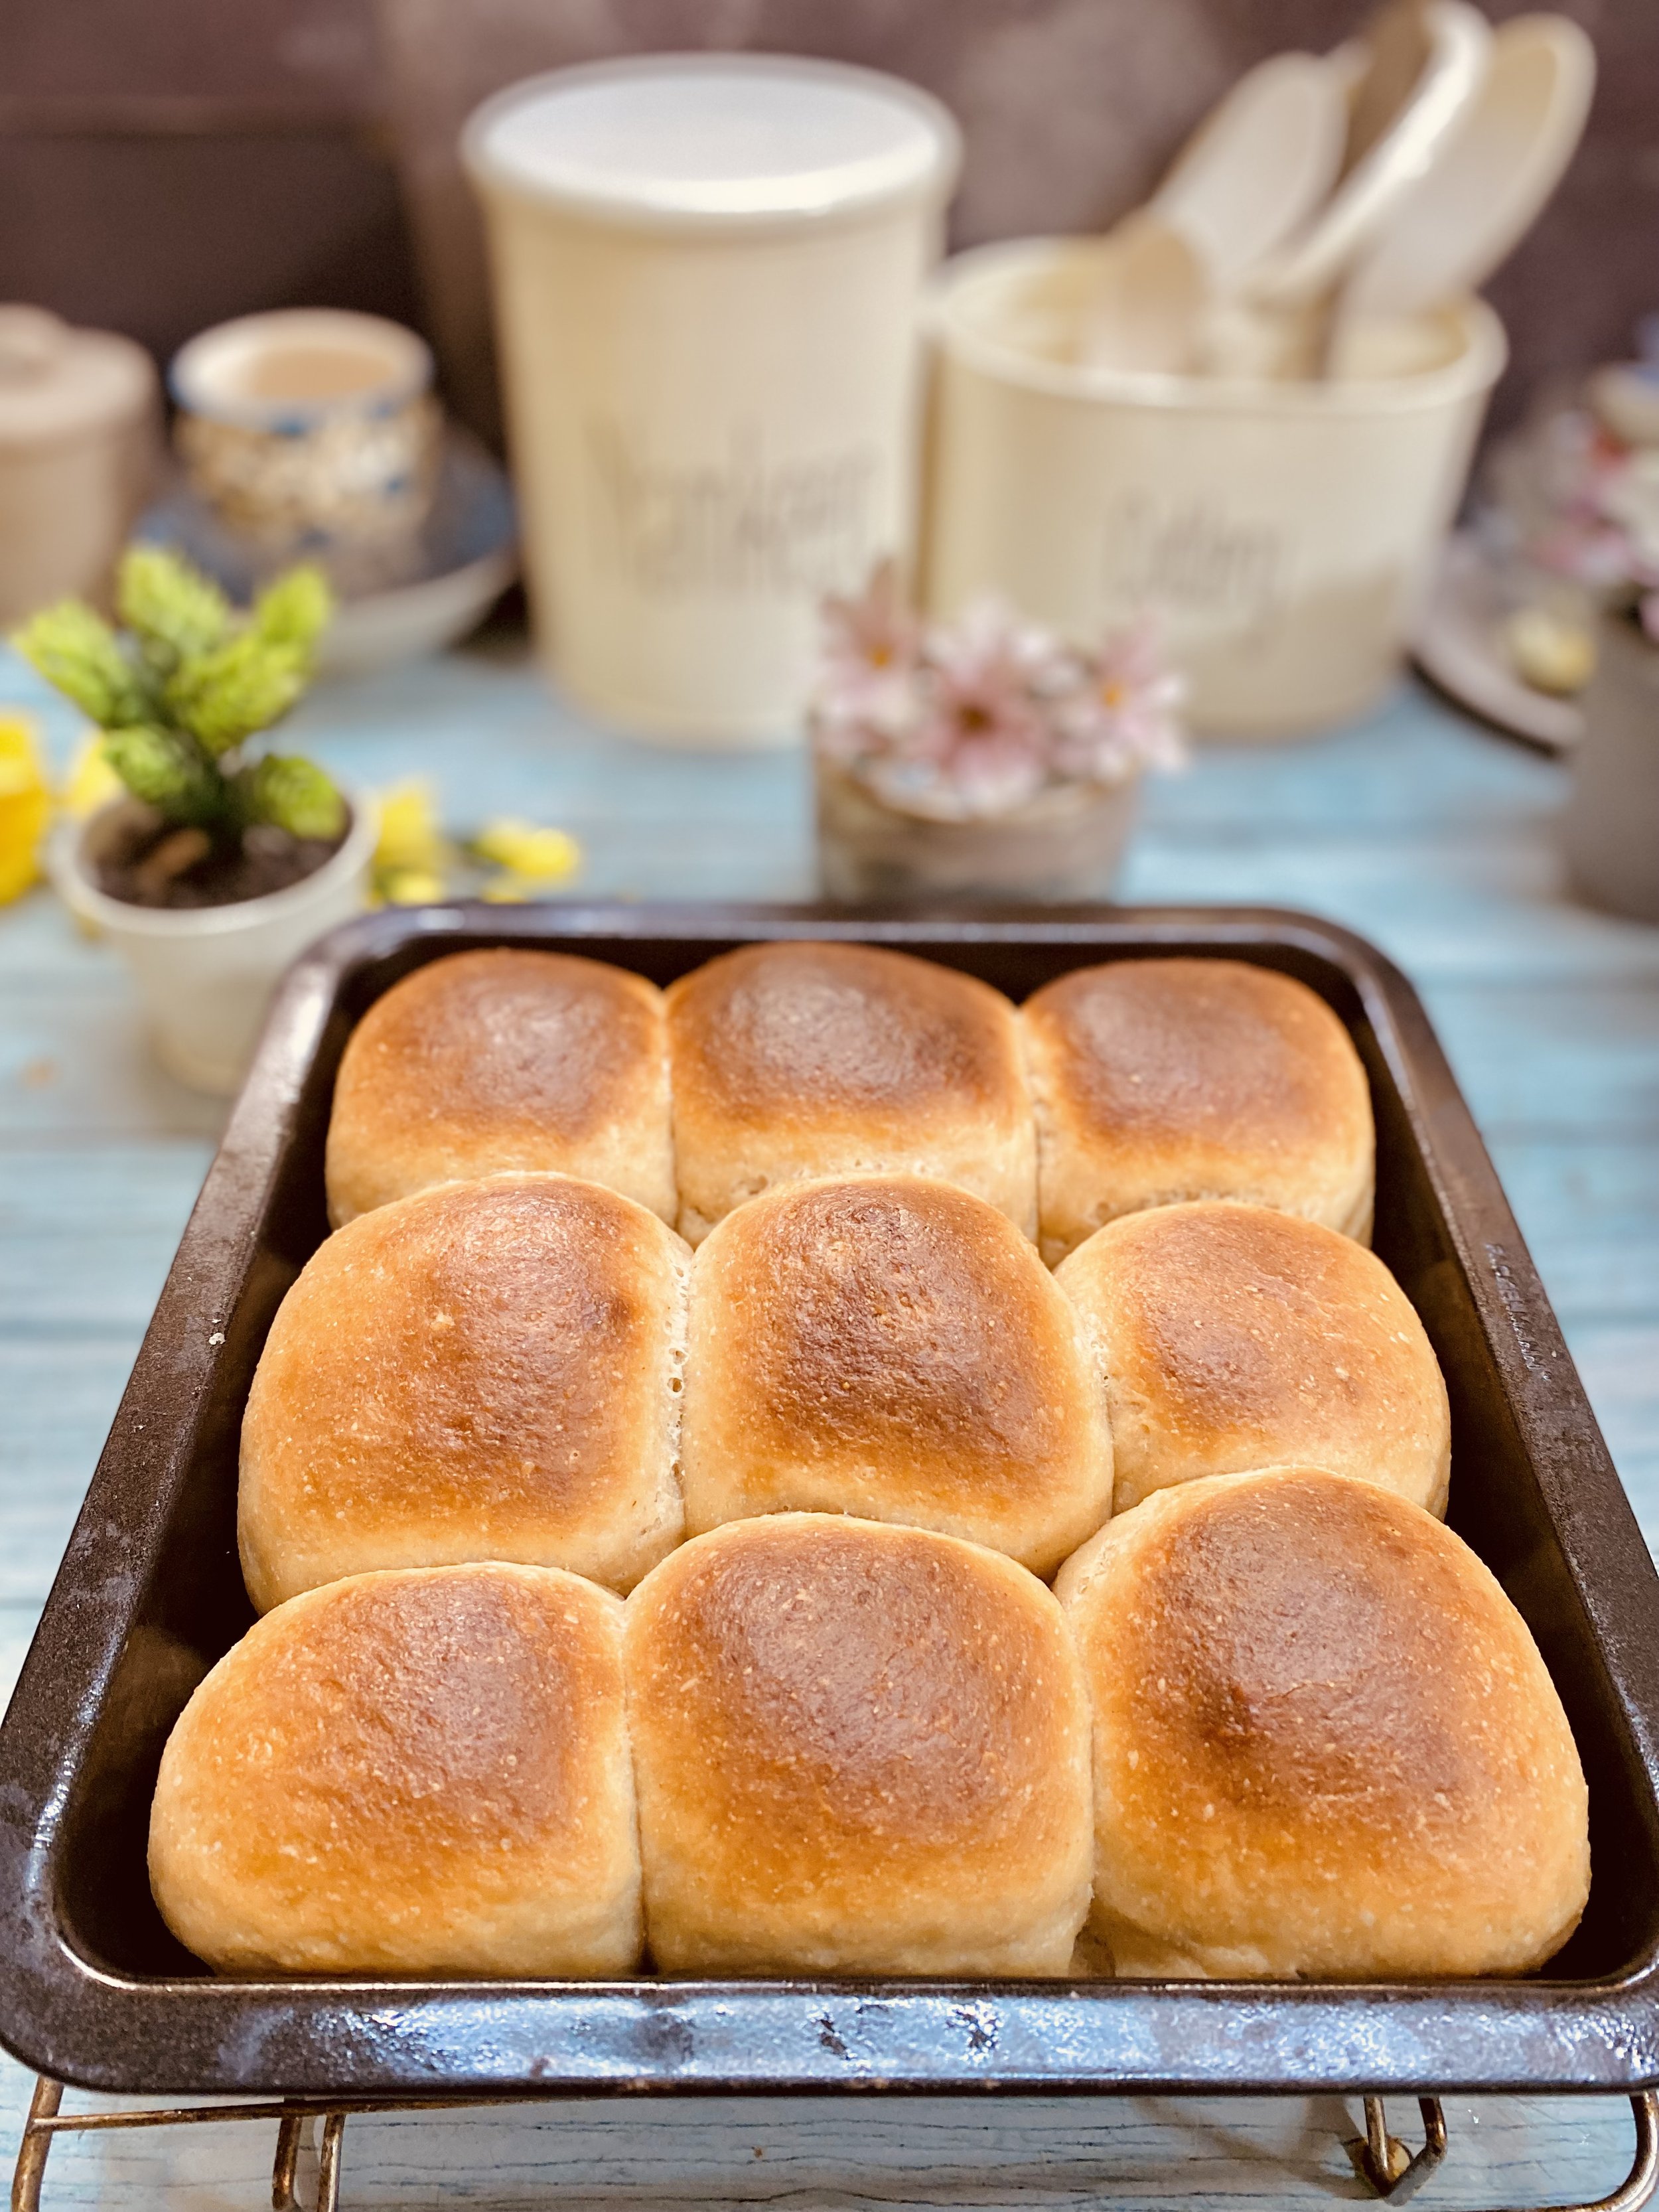
Baking instructions: Preheat at 200°C .
Then bake for 20-22 minutes ( varies according to oven )
INGREDIENTS
Activating the Yeast: 3 /4 Cup Warm Milk or water
2 Tsp Sugar or honey ( I used maple syrup as I had some )
2 & 1/2 Tsp Dry Yeast
For Dough:
2 & 1/2 Cups bread flour
4 tbsp milk powder ( optional )
4 tbsp melted butter or oil
4-5 Tbsp milk during kneading
3-4 Tbsp oil ( or softened butter )
Salt as per Taste
Method :
First activate the yeast by adding it to a bowl, add warm water or milk , add honey or sugar . mix well .Set aside .
Next take a bowl or add the flour to the stand mixer if you are using one . here iam giving instructions for knead the dough in a wet grinder as i used one with dough kneading attachment .
start the wet grinder to run it dry, add flours , slowly , add salt, add milk powder, add the yeast mixture .
Allow the grinder to run as you scrape from the sides any dry mixture , notice the flour and wet ingredients will start combine and come together to form a rough ball .
To finish the dough kneading you may need about 4 tbsp milk , make sure the dough is not dry while kneading , if it tends o get dry , add little more milk o make it sticky, as initially you need a sticky dough to work with
add oil or melted butter afer he dough starts coming together and getting a sticky texture , dont add oil or butter before the dough is at least halfway into kneading as it inhibits gluten formation .
remove the dough when it comes together to one smooth ball .
Shape into a smooth ball. place in a greased container, cover and allow to proof till doubled.
After an hour you will notice that dough has doubles, punch it down to flatten, take it o a counter .
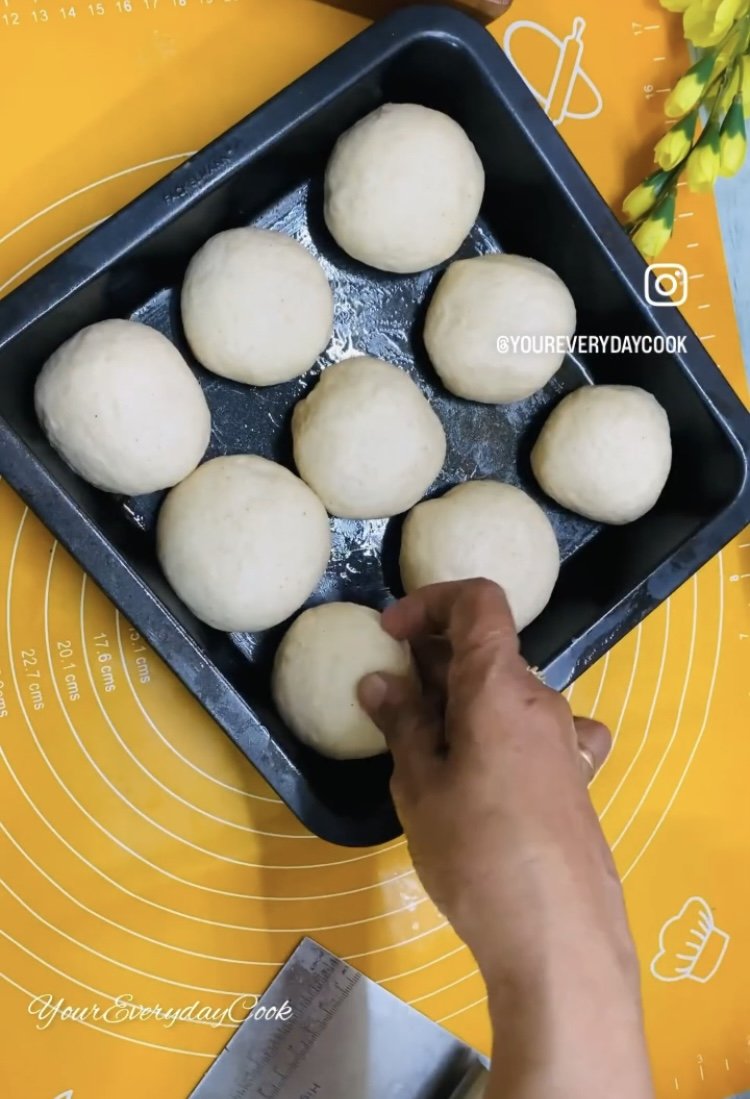
Divide he dough into required no of balls to shape into individual pav buns .
Shape each ball by bringing all corners of dough into centre, and tuck inside, roll on he counter or with your palms to make a smooth top .
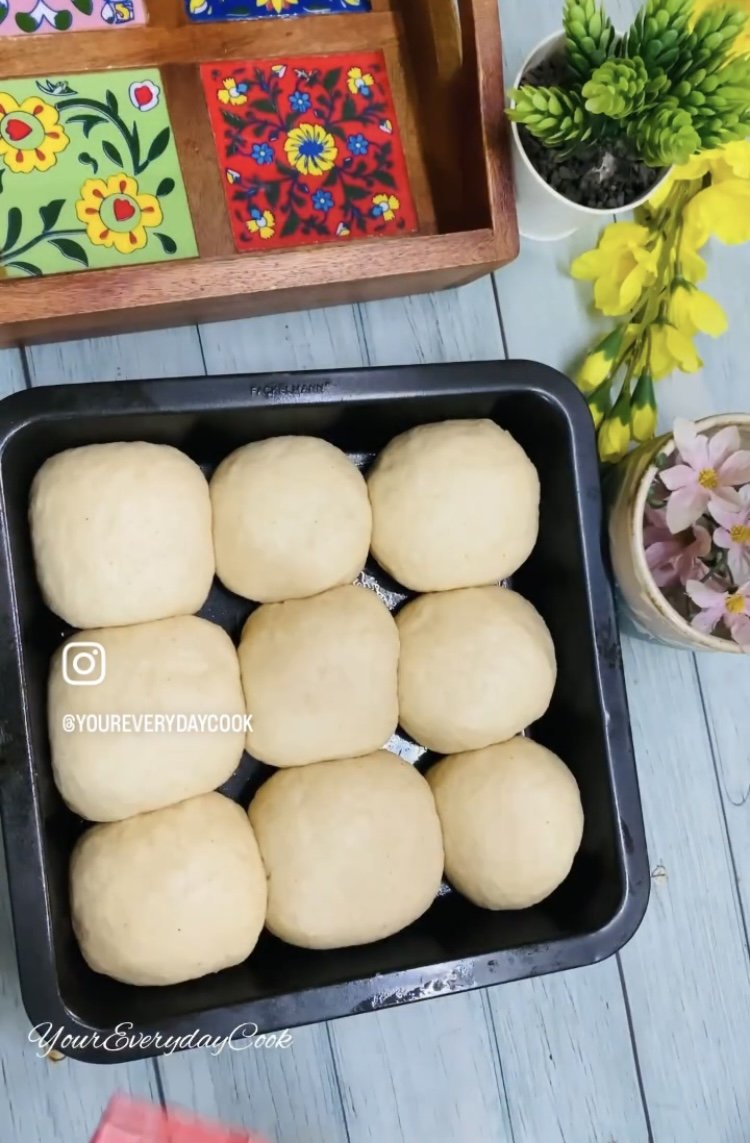
place these pav buns in a ray , which is to be greased, cover and allow to proof again for about 30 minutes or till the pavbuns looks bigger.
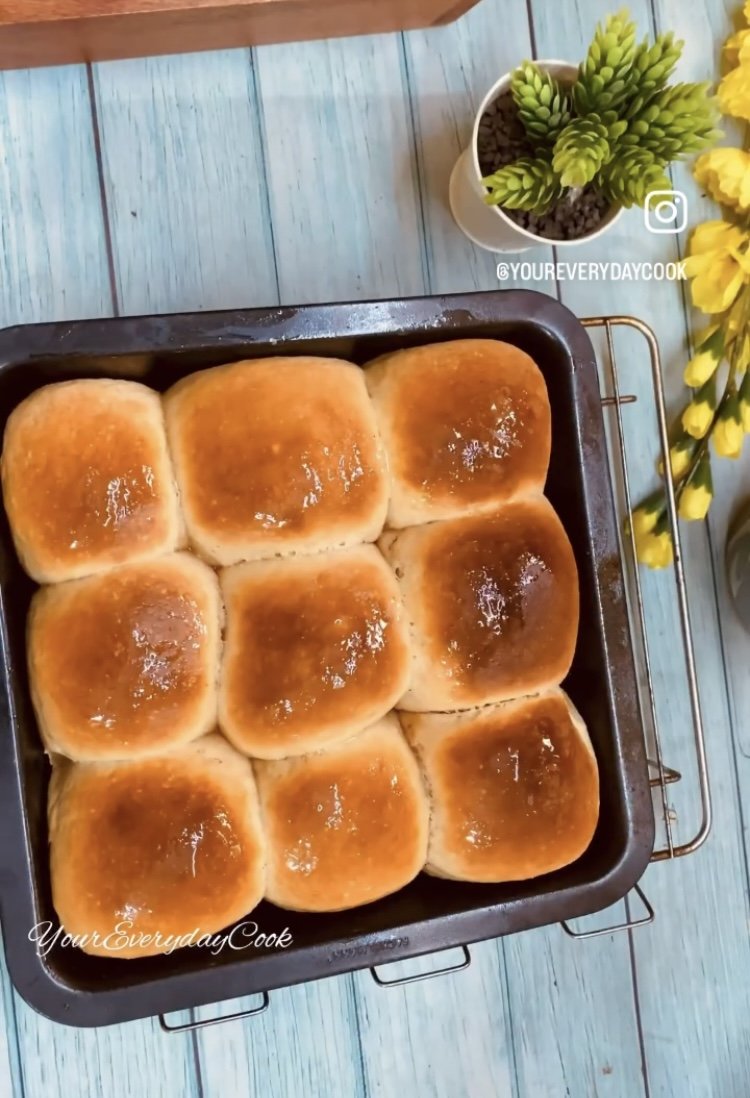
Bake in a preheated oven at 200 C for 20 o 22 minutes or ill done .
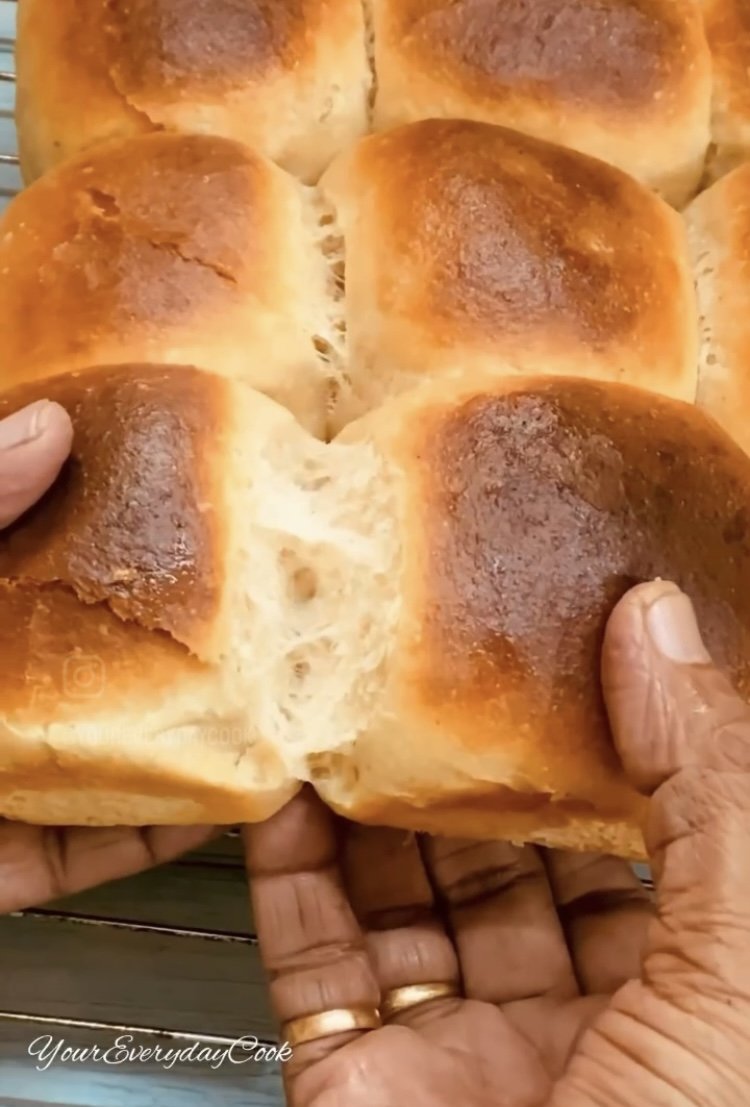
smear he breads with melted ghee as soon as you take them out .of the oven .
Turn he baking tray upside down onto the counter to remove the pav buns after easing them out carefully . cover with a damp kitchen tea towel , allow o sit for 10 minutes .
Enjoy delicious pillowy soft pav buns any way you wish .
Pav buns

Pav bun bread dough being kneaded in wet grinder

Pav buns


Pav buns
Pav buns

Pav buns
Pav buns