Mysorepak shop style Honeycomb Mysorepak
Kalyana Mysorepak
Traditional shop style Mysorepak
I have lost count of the different types of Mysorepak that i have prepared over the years . the authentic Karnataka style, or the shop style, wedding Mysorepak which is both light , porous , with a honeycomb effect and yet melt in the mouth and not oozing with ghee is my favorite . it has light bite of the fried besan which is so outstanding in taste .
While growing up in Karnataka, i had no clue that Mysorepak were of so many types ! After coming to Tamilnadu i was stunned to se the so many varieties ranging from ghee Mysorepak, very soft melt in mouth mysorepak , cashew Mysorepak and coconut mysorepak to name a few, milk mysorepak.
I have tried most of the varieties but this one happens to my favourite so i give the recipe as below . Basically this is the milk mysorepak as it has milk powder and besan combined . i feel the addition of milk powder is the reason i got this amazing brownish colour and the caramel like taste . please dont ask me if milk can be skipped, you can , but make sure to add besan the same qty in place of milk powder , in which case no need to boil sugar in milk , instead use about 1/2 cup water to melt sugar , and see how it goes as long as you follow the recipe and method , probably the colour will be lighter but you will get an amazing mysorepak .
Mysorepak | Honeycomb style |Mysorepak shop style |Milk Mysorepak
delicious crumbly Mysorepak with a heavenly taste of ghee and not overly dripping in ghee , a delightful bite of the besan fried in ghee and an awesome lingering taste in the mouth .
Servings5
Prep Time5 minutes
Cook Time12 minutes
Ingredients
1 cup milk powder
1/2cup besan /chickpea flour
3/4cup milk to melt sugar
1 1/2 cup sugar add 2 cups if you like a sweeter taste
3/4cup ghee
1/2 cup oil
Instructions
First sieve the besan and keep aside . grease a deep container , like a steel dabba or aluminum tin , which must have good depth . i used a loaf pan , as that is what i had handy . it was good enough . Reason for choosing a tray with height is , as the mysorepak mixture cools, the inside middle part will start getting a dark shade as heat is retained inside much longer.
Next step …add milk powder to besan , mix well and keep aside till needed . mix ghee and oil and keep heated in a pan separately on another gas flame , the ghee oil mixture must be hot all the time during the entire process of making the mysorepak .
In a heavy bottomed pan , add sugar and milk and boil till it is frothy and is sticky , about 1 string consistency , no need to worry about one string , if the syrup is a little sticky and pulls from the fingers when rubbed, it is enough .
now either switch off flame till you finish adding the besan and milk powder mixture or keep it on a very low flame and with one hand tip the bowl having the besan and milk powder mixture into the hot boiling sugar syrup , little at a time and keep stirring with a whisk with the other hand to break lumps and stir the mixture . Whisk is the best for breaking down all lumps .
after you finish adding the besan and milk powder mixture, now keep flame to low and stir , the mysorepak mixture will start thickening , though a bit raw , and now start adding the hot oil ghee one ladle at a time , and it must be super hot and the mixture must sizzle when hot ghee oil is added , and now you can see the batter looking a bit frothy , with holes forming .
From now on the flame must be at very low and you need to keep an eye that the mixture must not stick to the pan , so a continuous stirring is required, after the ghee oil initially is absorbed, you need to keep adding the same way with a sizzle, which indicated the besan getting fried in ghee at the same time cooking in sugar syrup .
as the mixture becomes more porous and almost all ghee oil will have been used, save a little for the last step, when the mixture seems to look like over fermented idli batter with many holes and bubbles, , you can take a small pinch in a spoon , it will harden quickly on exposure to air, so now is the time to add the last ladle of hot oil ghee to the batter pour this frothy mixture into a deep greased 5 inch pan or a steel dabba, and do not attempt to level or settle it down by pressing with a smooth ladle, you will be disturbing the pore formation that happens in the centre of the mixture,. lightly smooth the top, but very gently . I repeat do not press the mixture after pouring , the pores will be forming and you dont want to disturb that .
before you allow to cool for an hour at least , make sure to make knife scores , not all the way through , just enough to be able to break off the pieces.
thats it ...now dont disturb at all, even though the mixture setting in the greased container will look rugged and not smooth , dont bother .
after an hour , you will be able to remove the pieces , easily and they will come off the tray witgh no difficulty , note the centre of the mysorepak is a little darker, thats what we want , and pores have formed too .
Enjoy delicious shop style or wedding Mysorepak, with honeycomb or porous texture .
Shop style Mysorepak
shop style Mysorepak
Browse my Instafeed for more recipes. Follow me in Instagram for daily uploads .



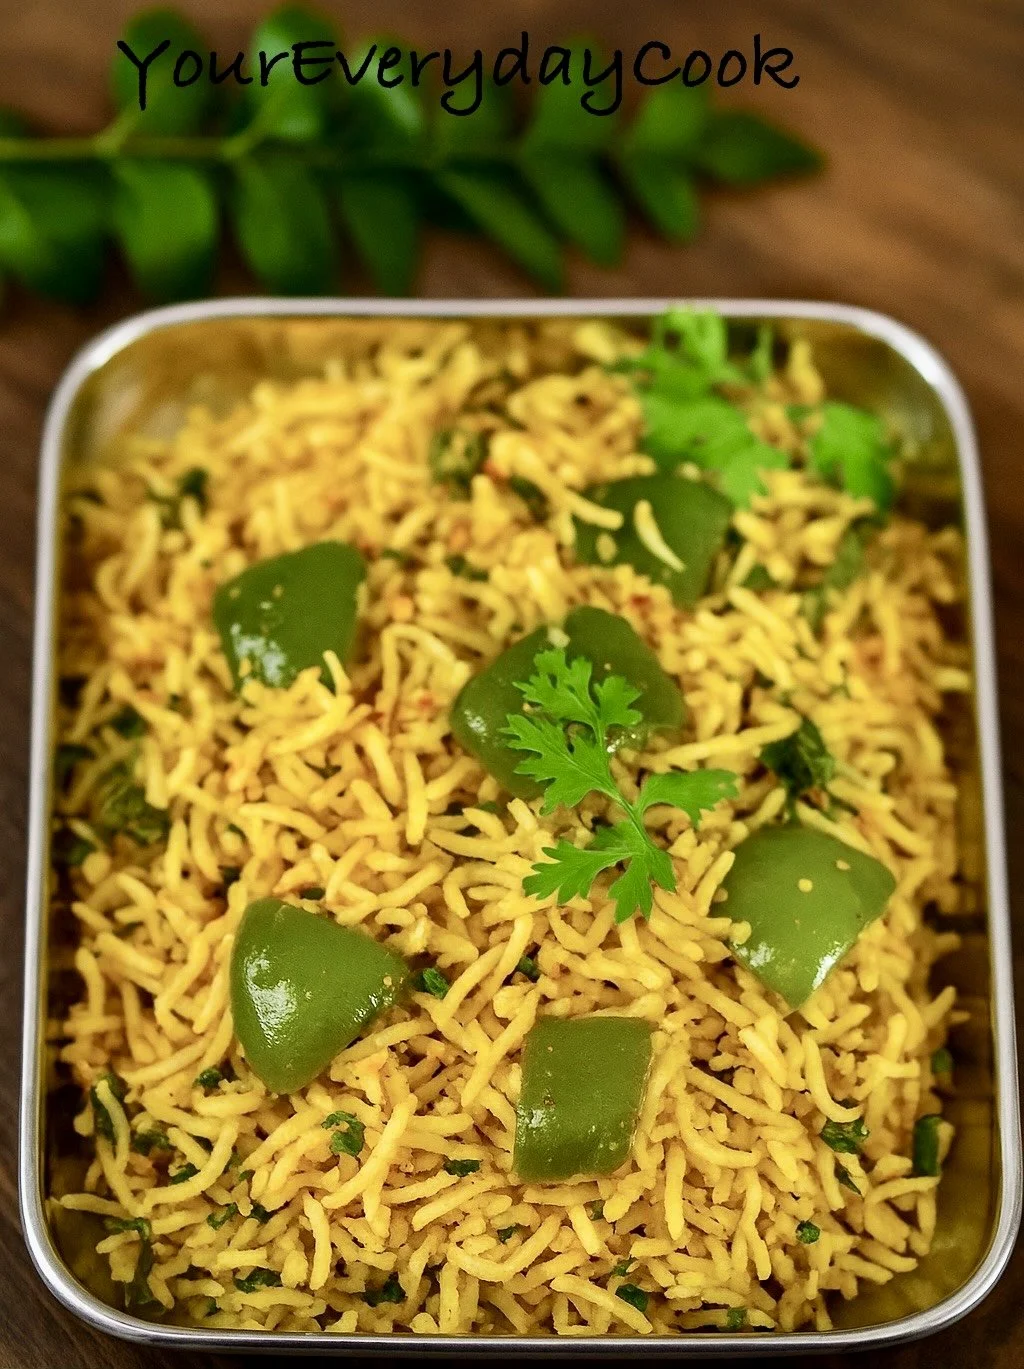






A fragrant South Indian rice dish made with coconut milk, whole spices and vegetables, Brinji sits beautifully between a pulao and biryani. Light, flavourful and gently aromatic, it’s perfect for weekday lunch boxes, small gatherings or a comforting weekend meal.