

Milk Bread


Milk bread
One of the softest and most delicious bread i have baked.
with every bread baking i learn something new and i get better i hope , although my breads may look perfect , i would have few complaints of my own, except for this one bread which was a winner from the time i started kneading the dough how it behaved, how beautifully it proofed , i knew i am going to have the most amazing bread .
The moment of truth when the oven pinged , indicating the bread was done baking , i was mighty pleased, of course my regret this time , i should have baked a bigger one ! I personally feel one cannot get satisfied with baking but be critical of your own baking so that you keep honing the skills with every bake . and btw the bread in some pics look yellowish due to night time clicks.
Now lets get to the recipe which is fairly simple and the usual ingredients .
Ingredients :
Total liquid is 175 grams which you can take either as full milk or take half water and half qty milk ( half of 175 grams each )
I have taken full qty liquid as milk , you can take half and half also
1 3/4 tsp instant yeast
2 tbsp sugar
2 1/3 cups flour
3 tbsp butter
1 tsp salt or as required
Step 1.
Take a bowl
add lukewarm water and warm milk.
add sugar.
add yeast. mix well.allow to foam up.
when yeast looks activated and foamy, add salt.
add in flour slowly, keep some flour , about 1/4 cup left to be
added while making dough , to adjust while kneading and shaping .start mixing dough with a spatula itself in a cutting motion ,
so that all dough is incorporated in the liquid.When the dough looks mixed but still shaggy, now use your hand to bring it together roughly, you need not try to make perfect ball of dough now, but allow this roughly mixed dough to rest in the bowl for 15 minutes after
which we will begin to knead .so cling wrap and rest the roughly mixed ball of dough for 15 minutes .
Step 2.
After 15 minutes, you will observe the rough dough has relaxed a bit and looking much easier to knead , take it to a floured surface , use some of the flour that we set aside now .
Stretch out the dough lightly from all four sides without tearing it up.
the dough will look rough at this stage. But not dry and crumbly.
Step 3.
After stretching the dough a bit on all four sides like a square, add in the butter in the center, and cover up the dough , like we are stuffing the square dough with a blob of butter, covering it up into a ball.
then start kneading , which is now a messy job but most important one, as the butter has to be incorporated well into the rough dough , which means the counter will be sticky with the wet dough and butter mixture but not to worry as , it will come together within few minutes of kneading up and down .
Please note , you have to use the heel of your palm on the one end, and gently drag it up and then down, and repeat for at least 5 -8 minutes,
till the whole thing comes together,use a scraper at this point to bring dough together from all sides and most important , do not add in any extra flour except the one you set aside for making dough , to bring it together.
so use that flour and complete the kneading , till a smooth ball is formed.
Taking the rough ball of dough and slapping it on the counter several times , also helps to form a smooth firm ball of dough .
when the dough starts coming together, use both hands, cup the dough
and drag it gently towards you on the counter so that a taut surface
is formed on top of the dough ball, kind of creates a tension on top
of the ball and therefore you achieve a smooth wrinkle free
taut supple dough .when you press the dough now, it will spring back gently, at this point, you have to allow the dough to rest for some
time maybe an hour or two till it doubles .so place the dough ball in an oiled bowl, spread some oil on top also, and
cover with clingwrap .
Step 4
After an hour or after dough has doubled, divide into two balls , and shape into two small dough balls, allow these to rest for 15 more minutes
after 15 minutes , take one dough ball, roll it out by flattening with a rolling pin , then take both the ends of the rolled out dough, fold and nowfold both ends of the rectangle like a long envelope,
and roll up into a small barrel like .pinch the seams and repeat the same with the other ball of dough .
place both these rolled up dough into the baking pan , cover with cling wrap and allow to proof .you can also roll up into one long single barrel like dough , instead of two .
Step 5
Proof till the dough rises till almost edge of the pan about 1-2 cms less than the rim of the pan ,
as the dough will continue to rise on baking .you need to watch out for this proofing stage . Do not allow to rise all the way till the rim .
Almost half way through the proofing, preheat oven and bake the breads the breads at 180 degrees C for 25 minutes or till done when the top looks browned lightly and evenly.
you can cover the top with aluminium foil while baking if it gets browned quickly .
Note :
oven times will vary.
after the bread is baked, take out the tin and tap few times to drop the bread onto a cooling rack,
do not allow bread to remain in the hot baking tin .
allow to cool completely and then slice .
depending on your baking tin , you can get a tall bread or a horizontal loaf tin , check out the youtube video , kindly subscribe to my channel for regular uploads.


Browse my Instagram for more recipes. Follow me in Instagram for daily uploads .


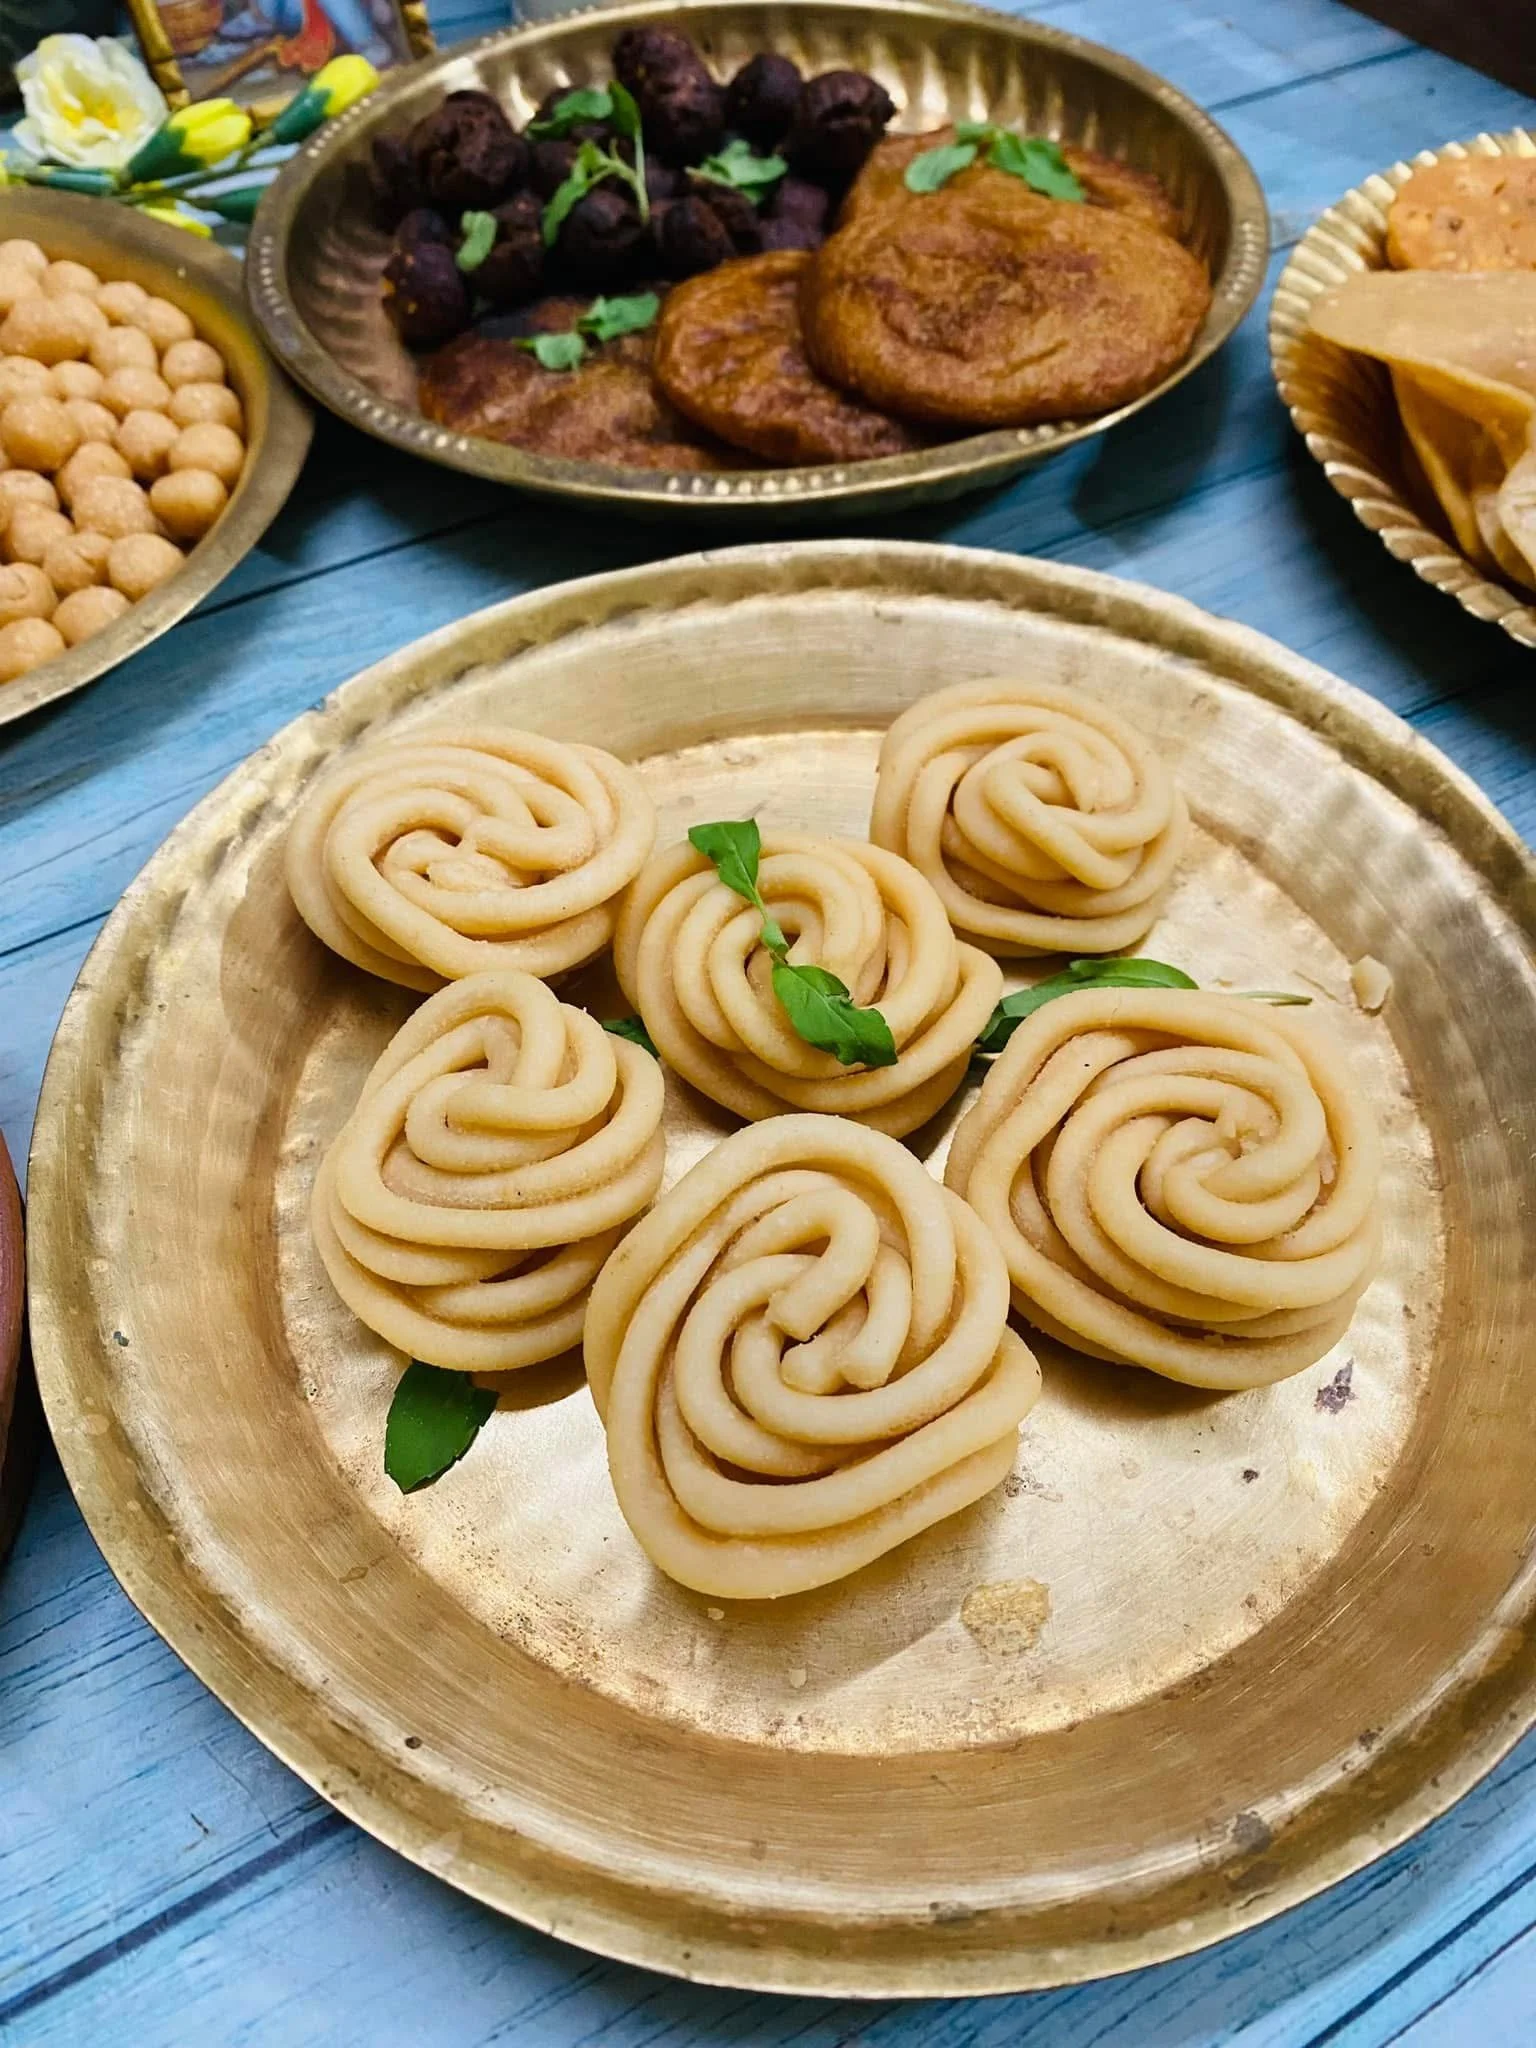


Chintamani Appam is a traditional Chettinad savoury appam made with rice, spices, and aromatics. Soft, mildly spiced, and perfect for breakfast or tiffin.