Kalyana Mysorepak
Kalyana Mysorepak

Kalyana Mysorepak
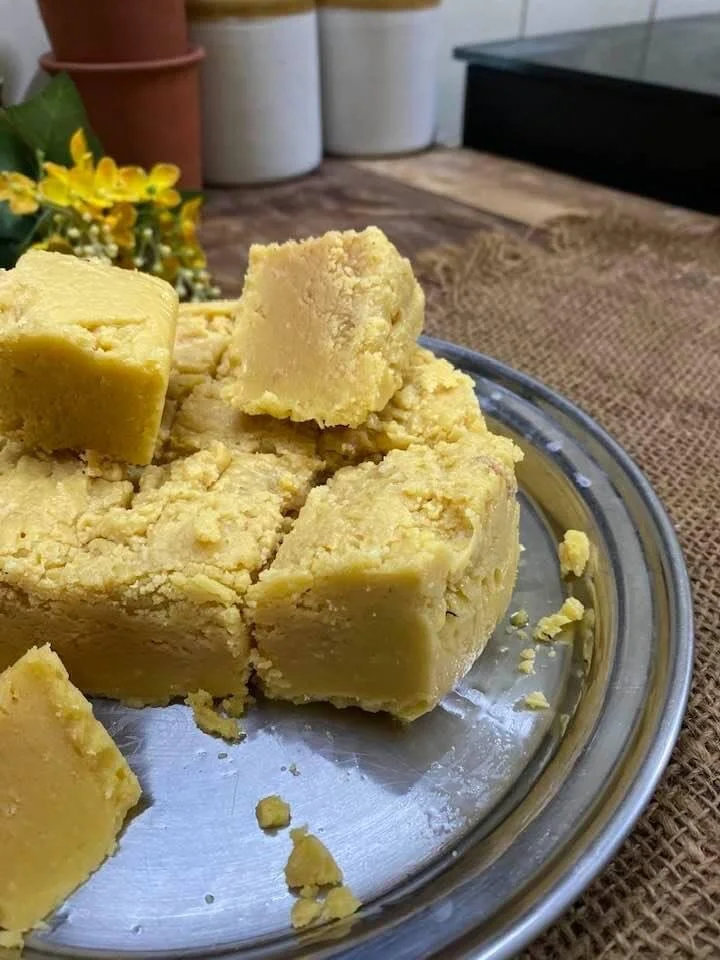
Mysorepak—the name alone is enough to make anyone crave this melt-in-the-mouth delicacy, a traditional sweet from South India. It's a staple in households for a variety of occasions—whether it’s a small celebration, a festival, or simply to satisfy a sweet craving.
Though the recipe calls for only a few simple ingredients and can be made in under 30 minutes, it requires precision and technique. There’s little room for error, making it a hit or miss for many. This is one reason why some shy away from attempting it. However, with every try, you learn more than any book could teach you. Start with a small batch, learn from any mistakes, and your next attempt will be even better—if not perfect. That’s exactly how I mastered making Mysorepak. We didn’t rely on videos or cookbooks; we just followed our mothers' recipes and learned by trial and error in the kitchen.
The dominant flavors of ghee, sugar, and chickpea flour come together like poetry, and the first bite brings a deeply satisfying pleasure.
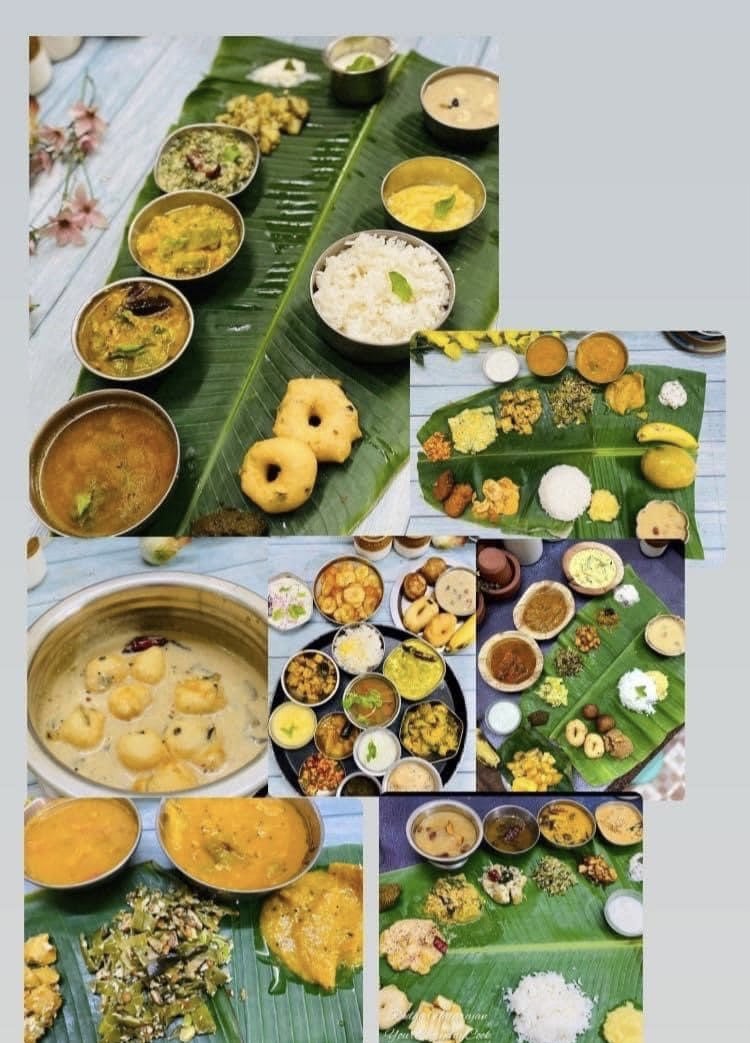
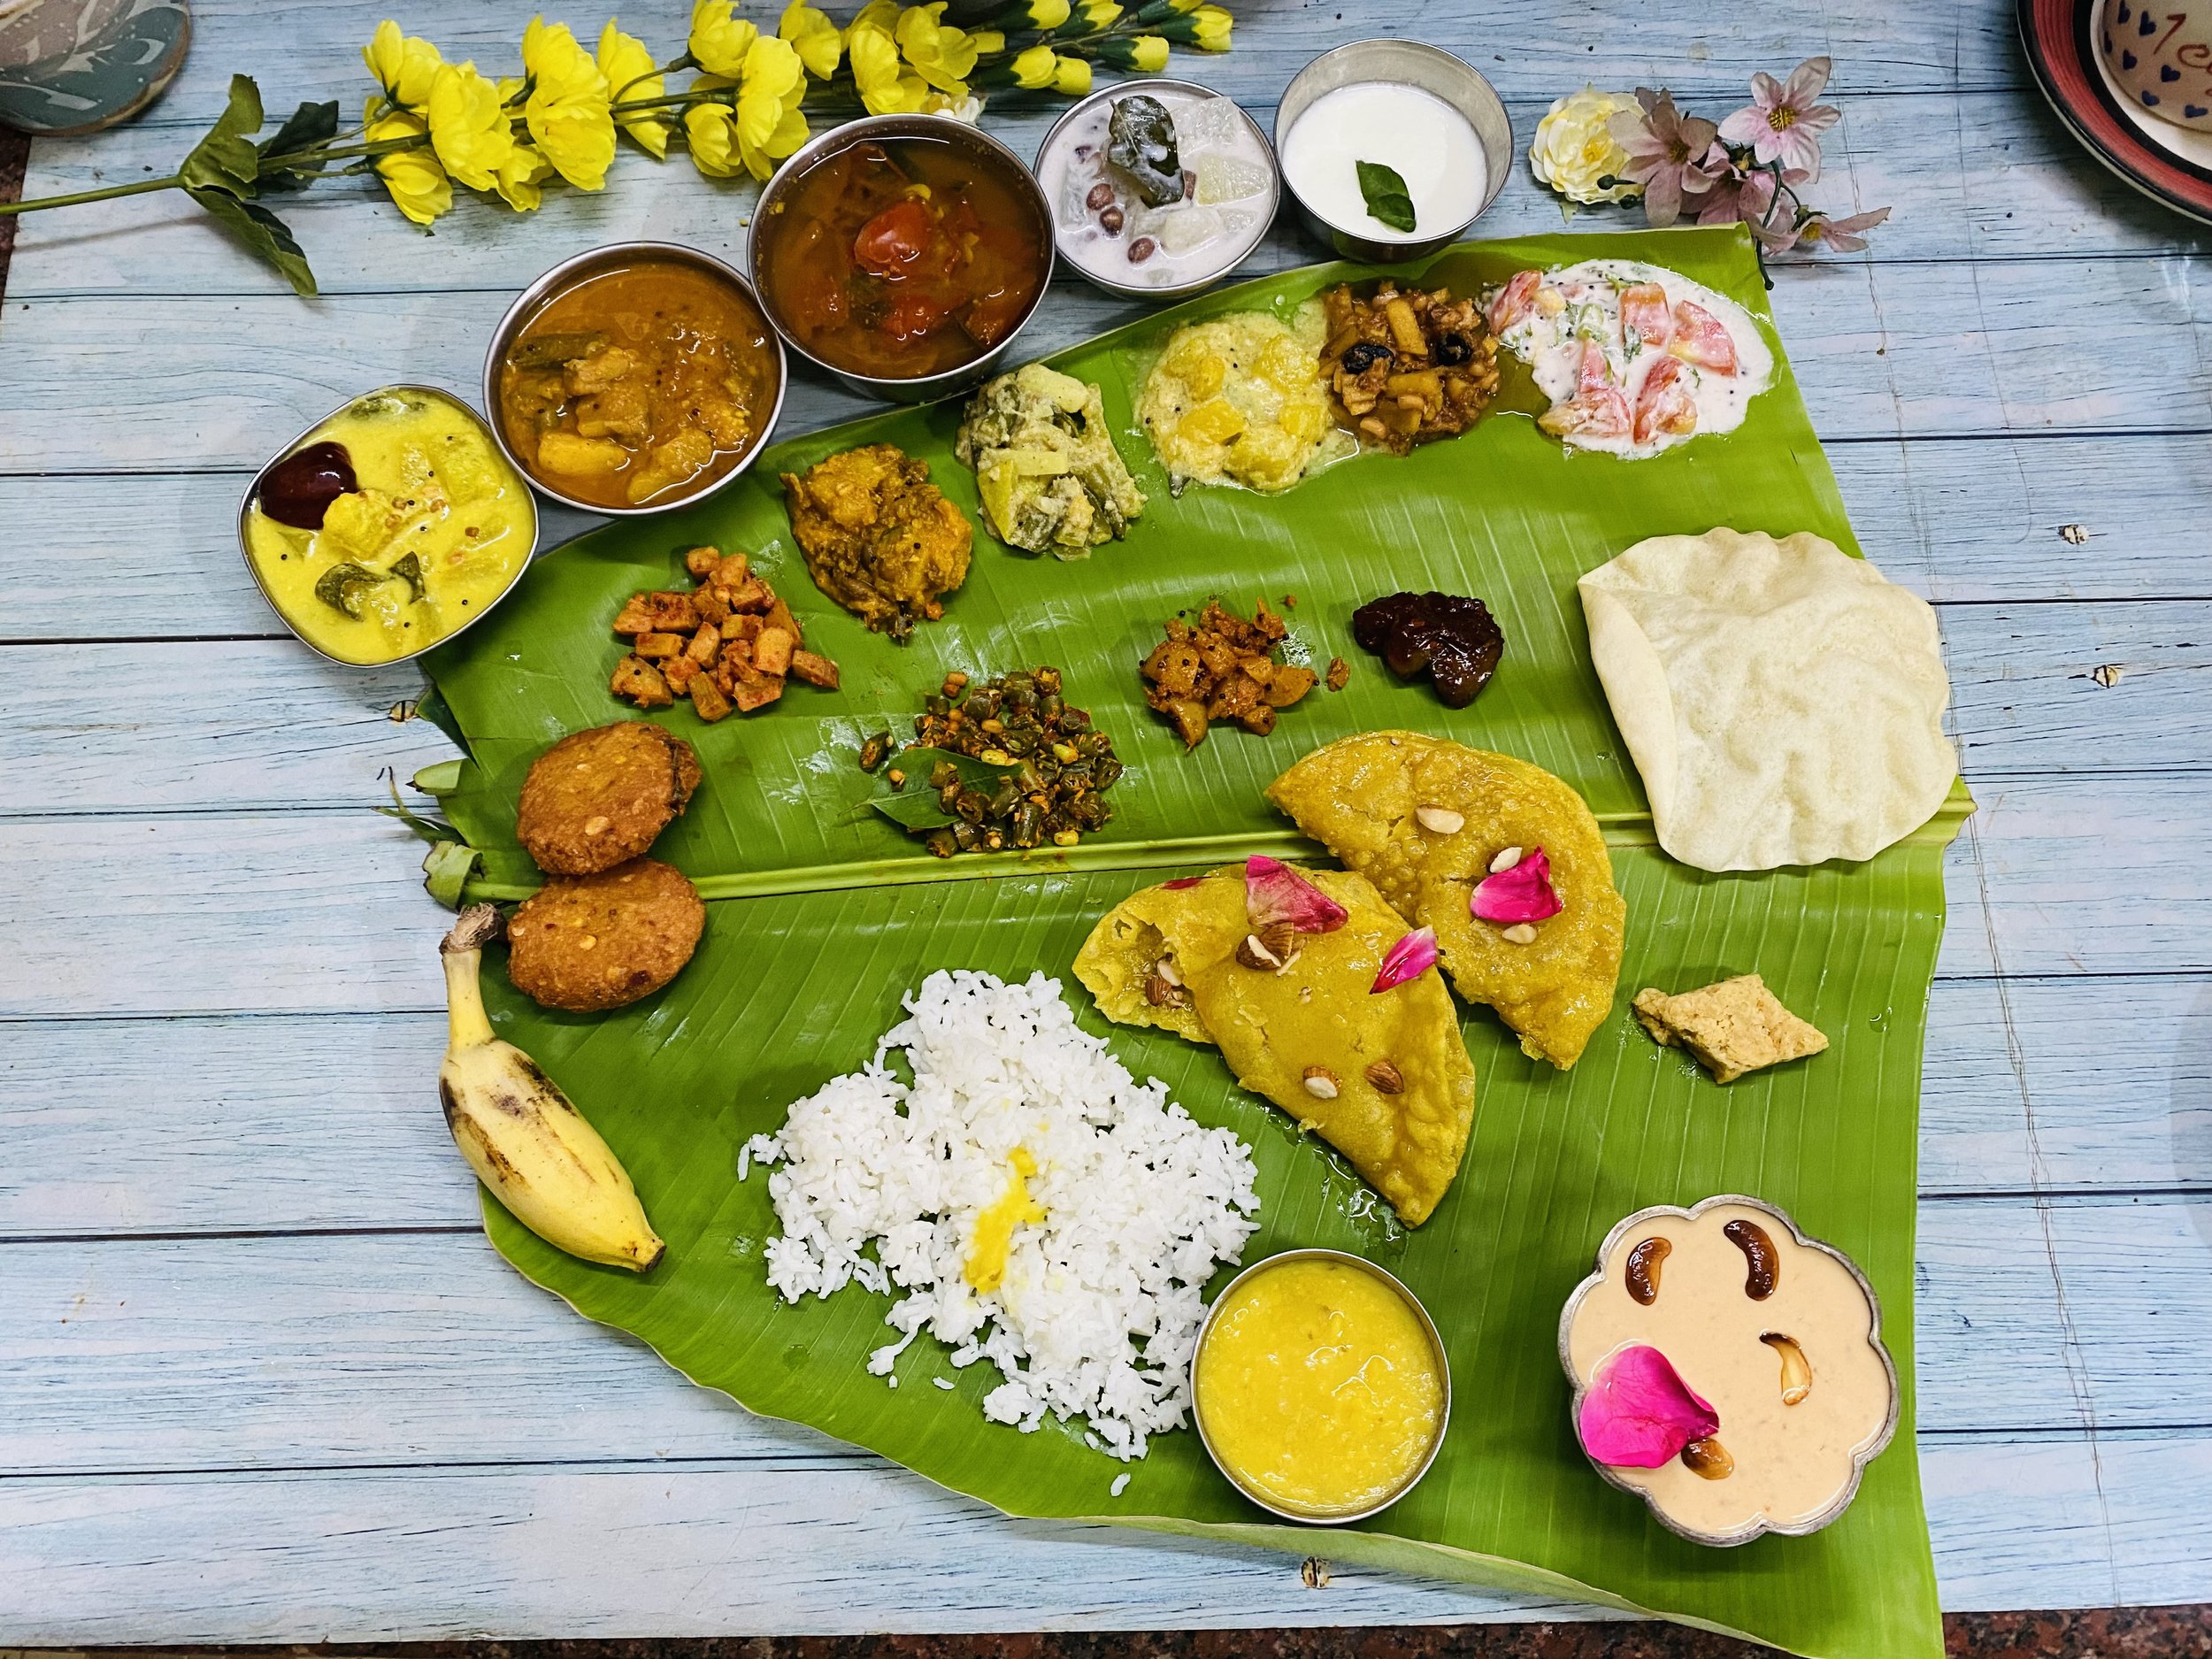
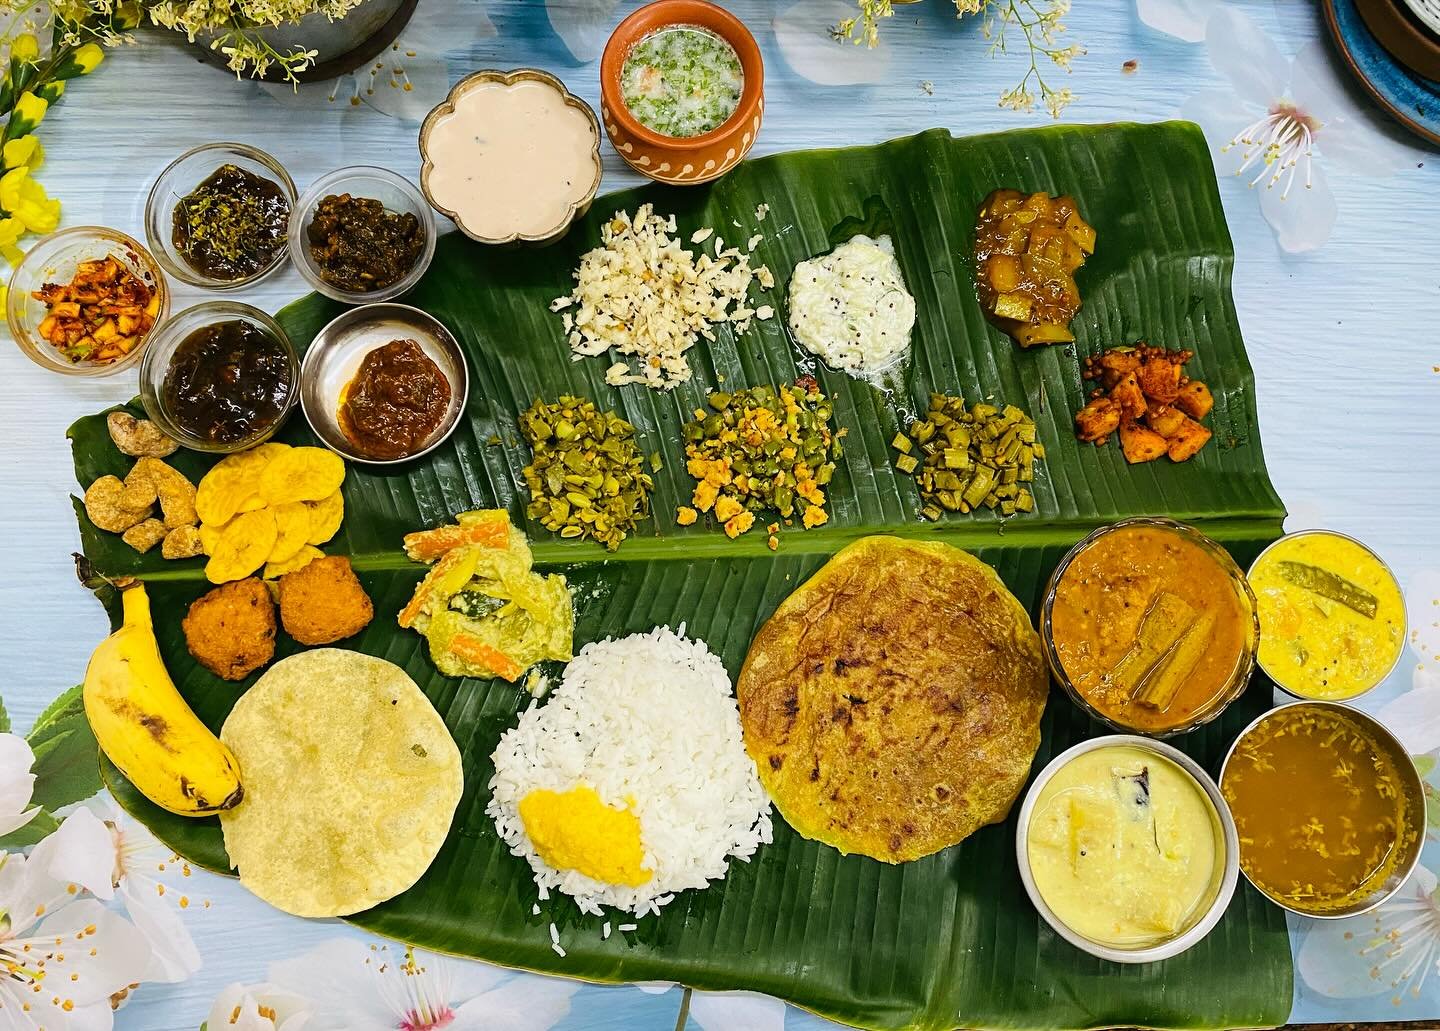
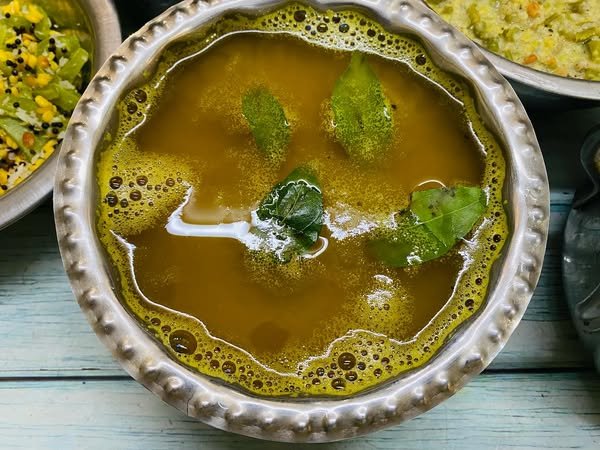
Originally, only one type of Mysorepak was commonly prepared—the light, porous, and crumbly version, often referred to as Kalyana Mysorepak. It is a staple at South Indian weddings, given to guests along with other sweets and savories like mixture. No wedding or Diwali celebration is complete without this beloved sweet.
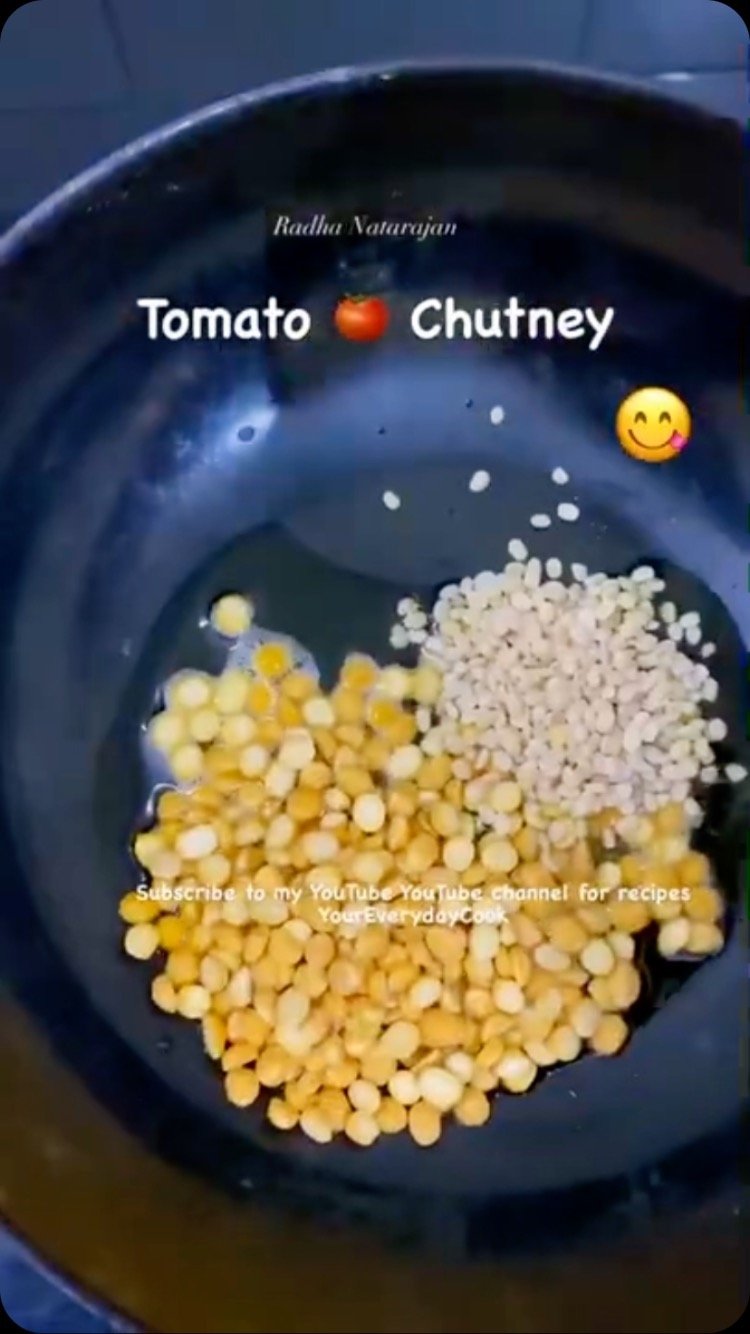
Ingredients :
1 cup sieved besan
1 cup sugar ( you can add 1 more cuo for more sweeter mysorepak )
1 cup ghee
1/4 cup oil
1/2 cup water
Method
First grease a suitabe tray with depth in which you will pour the mysorepak mixture .keep aside . Next sieve the besan flour well, and keep aside .
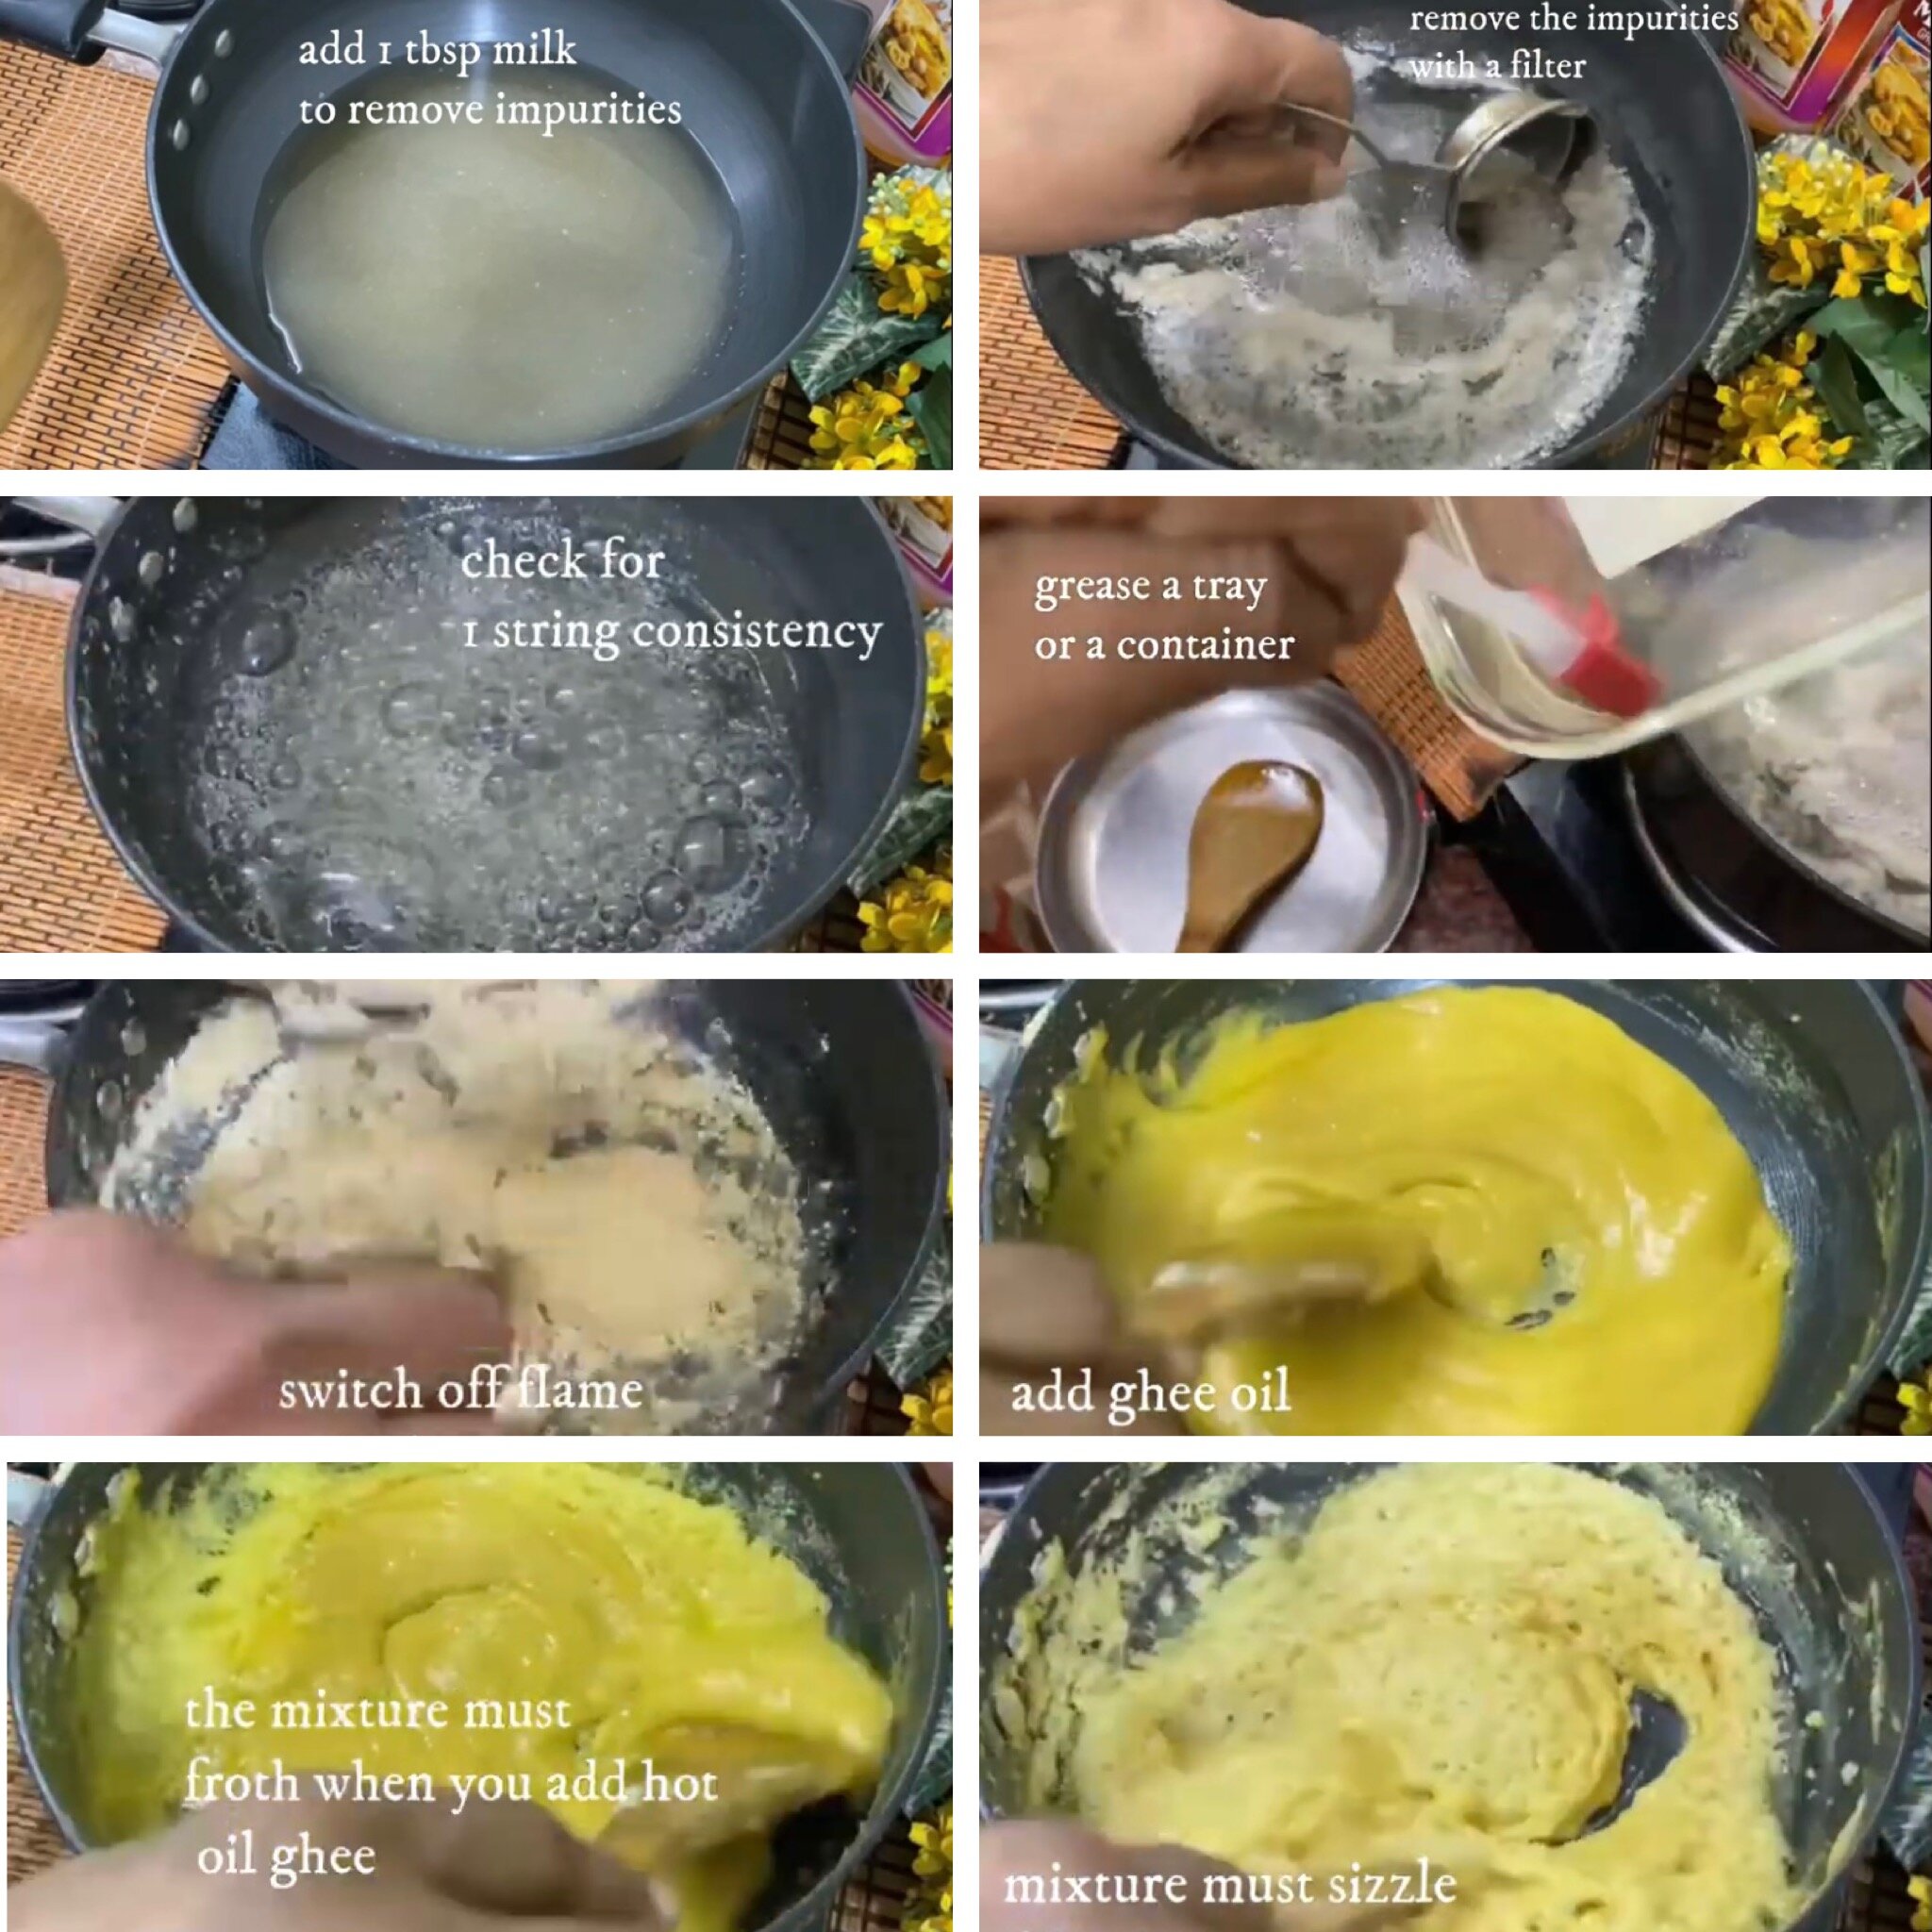
Next take a sauce pan, melt the ghee and add oil to it,heat both and keep it on another burner,make sure it remains hot throughout the preparation of mysorepak,so keep the flame on very low till the process is over.
Take another heavy bottomed pan, iron kadai or a non stick ,add 1 cup sugar , and 1/2 cup water, switch on the gas,allow the sugar to melt, add 1-2 tbsp milk , to remove the dirt if any, scoop out the floating scum with a filter or a tea sieve. See the video .
Continue to allow the sugar to bubble till frothy and one string consistency is reached, test the consistency with your finger and thumb,it must form a string , which will be sticky, that is enough .
Now either switch off the gas or keep the flame to very low, and add the besan flour to the hot syrup with one hand and stir with the other . If you have anyone to help with pouring of the flour, it will be useful though not needed if making a small qty . Time is of essence . Switch on the gas as soon as you finish adding all the flour,now keep stirring continously to remove all lumps, and now start adding hot oil ghee mixture one ladle at a time , when you add the oil ghee, it will sizzle which is good , as it means the mixture is getting fried and also cooked at the same time ,add the next ladle only after the mixture has absorbed the oil ghee.and mixture looks like halwa .
Add the next ladle and contiue to stir, notice mixture getting thicker and also getting frothy at the sides , . At the last stage it will look like over fermented idli dosa batter .
finish adding oil ghee in batches and when you add the last ladle ,you will see the mixture will no longer absorb oil ghee,but will start releasing the excess oil ghee on the sides, push themixture to one side of the pan and you will see excess oil ghee coming out , which means you now have to pour it into the greased tray quickly . when you pour into the tray ,the excess oil ghee also willflow out ,some people willkeep the tray tilted so that the ecseedewill drain to the lowerside, i do not do this as it may change the shape of the mysorepak, i just leave it as it is .
Do not level the top of the mixture, after you pour into the tray ,just gently pat with a flat spatula, or tap the tray and it will settle.
Before it dries out completely ,make light knife marks to slice later ,do not use the knife all the way through,just make the slices very lightly by scoring .
After an hour, the mysorepak will be ready.
Take a plate and turn the container upside down , the mysorepak will fall off like a slabo nto the plate , also the pieces will come off easily .which means you have made the perfect batch of mysorepak . note the centre of the mysorepak will be dark in colour and porous on top . That is why aluminium tray with depth is recommned as used by the sweet shops, because it retains heat and will cook the mysorepak as it cools in the tray, thats why the centre part looks more dark when aluminium tray with good height is used . I did not have a suitable tray so i have used a heavy glass container .


.


Kalyana Mysorepak

Browse my Instagram feed for more recipes . Follow my Instagram and get the latest uploads .