Wholewheat flour Pull Apart bread
Wholewheat flour teatime pull apart bread
These whole wheat flour and all purpose flour blend of teatime bread is so amazing , simple to bake and makes a great pull apart bread . Here i have used a blend of wholewheat flour and all purpose flour to reduce consumption of all white flour . The all white flour tea time bread is even more softer and fluffier but the wholewheat bread is also no less in comparison.
Wholewheat flour tea time bread
Servings 1 loaf
Cook Time 25 minutes
Ingredients
190 ml milk ( you can have half of water and half of milk also )
1 tsp instant yeast
1 .5 cups wholewheat flour
1 /2 cup all purpose flour
1tbsp brown sugar / white sugar
1tsp salt
1tbsp butter
Instructions
take a small bowl, add about 1/4 cup of the liquid which must be warm add yeast and sugar or brown sugar to the warm liquid allow it to activate , even if using instant yeast , i like to make sure it is good.
meanwhile take another bowl add the flours, salt and mix well add the activated liquid with remaining liquid ( milk or water ) balance from 190 ml .
take a spatula and mix well before kneading , as the dry ingredients must get moistened . Now take this rough dough mixture to a work surface , knead the dough which will be little sticky.
flatten the dough in a square shape on the work surface, add in oil or butter as the case may be to the centre of the square flattened dough , cover up into a ball like with the butter or oil in centre, knead again , gently stretch dough in up and down motion , knead for at least 5-6 minutes.
add oil to hands if sticky but do not add any flour,take the dough and slap against the work surface few times,just keep banging up and down few times , this really helps , notice the dough becoming much smoother, non sticky , coming together.
when you are able to make a smooth taut ball by cupping the dough with your hands and bringing towards you on the work surface , it is ready . the dough will no longer stick but will be elastic and smooth put it back in a greased bowl, cover and allow to proof till doubles, may take an hour .
after an hour, the dough would have doubled, take it to a counter, divide into two and roll into two small balls ( you can choose to bake as a single bread if you have a bigger pan ) again smooth out the two balls of dough to make sure it is smooth and taut exterior , now cover both the balls for 15 minutes to relax .
after 15 minutes, take out each ball, and measure and shape according to your bread tin like a rectangle, at this point if you wish to make this bread into a garlic pull apart bread style, just spread a mixture of soft butter, minced garlic, chopped coriander leaves, some grated cheese ,pinch of salt, oregano and some chili flakes , spread this mixture all over uniformly, then begin the rolling process. roll up from top to bottom , horizontal wise, like a log, pinch both ends, and the seams at bottom. i have baked a plain pull apart bread .
now with a knife or a scraper, slice the prepared log at equal intervals Prepare the other ball of dough likewise . gently lift off the sliced log of dough into a prepared bread pan for second proofing for about 30 minutes .
preheat oven and bake the bread after brushing the tops gently with milk , at 180 C for 25 minutes or till done, the top will brown well, you can keep a aluminium foil on top to prevent over browning .
remove the bread tins from the oven , and allow to cool on a rack after removing bread from the pan . brush with melted butter on tops, and cover with a lightly moist cloth for 5 minutes, this keeps the bread soft
tear off the required bread at sections . no need to slice as we have already sliced before baking . These breads are good for making garlic bread slices also
After the dough has proofed the first time , shape it into a log, and make these slicecs , not all the way through , lift and place into the prepared loaf tin , after second proofing , they will become bigger and more close to one another .
browse my Instagram feed for more posts . Follow me in instagram for daily recipes .





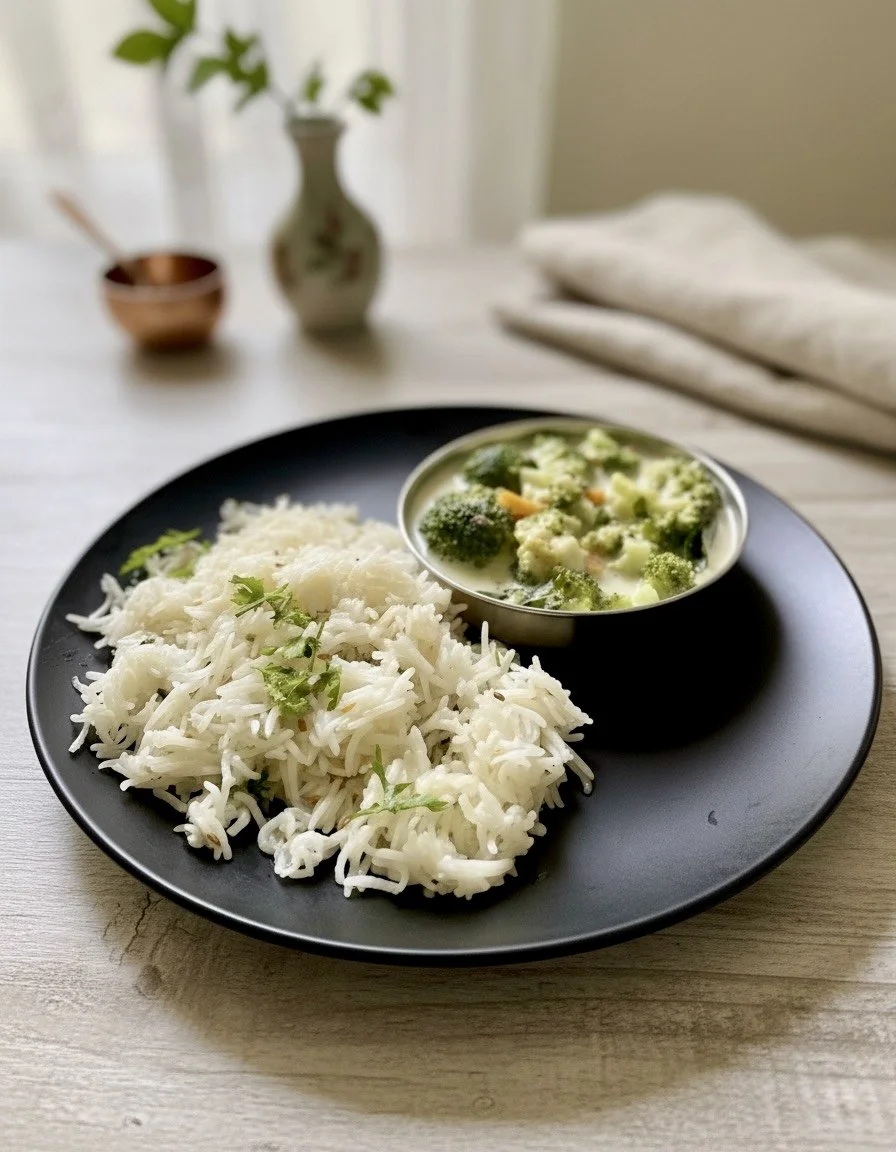
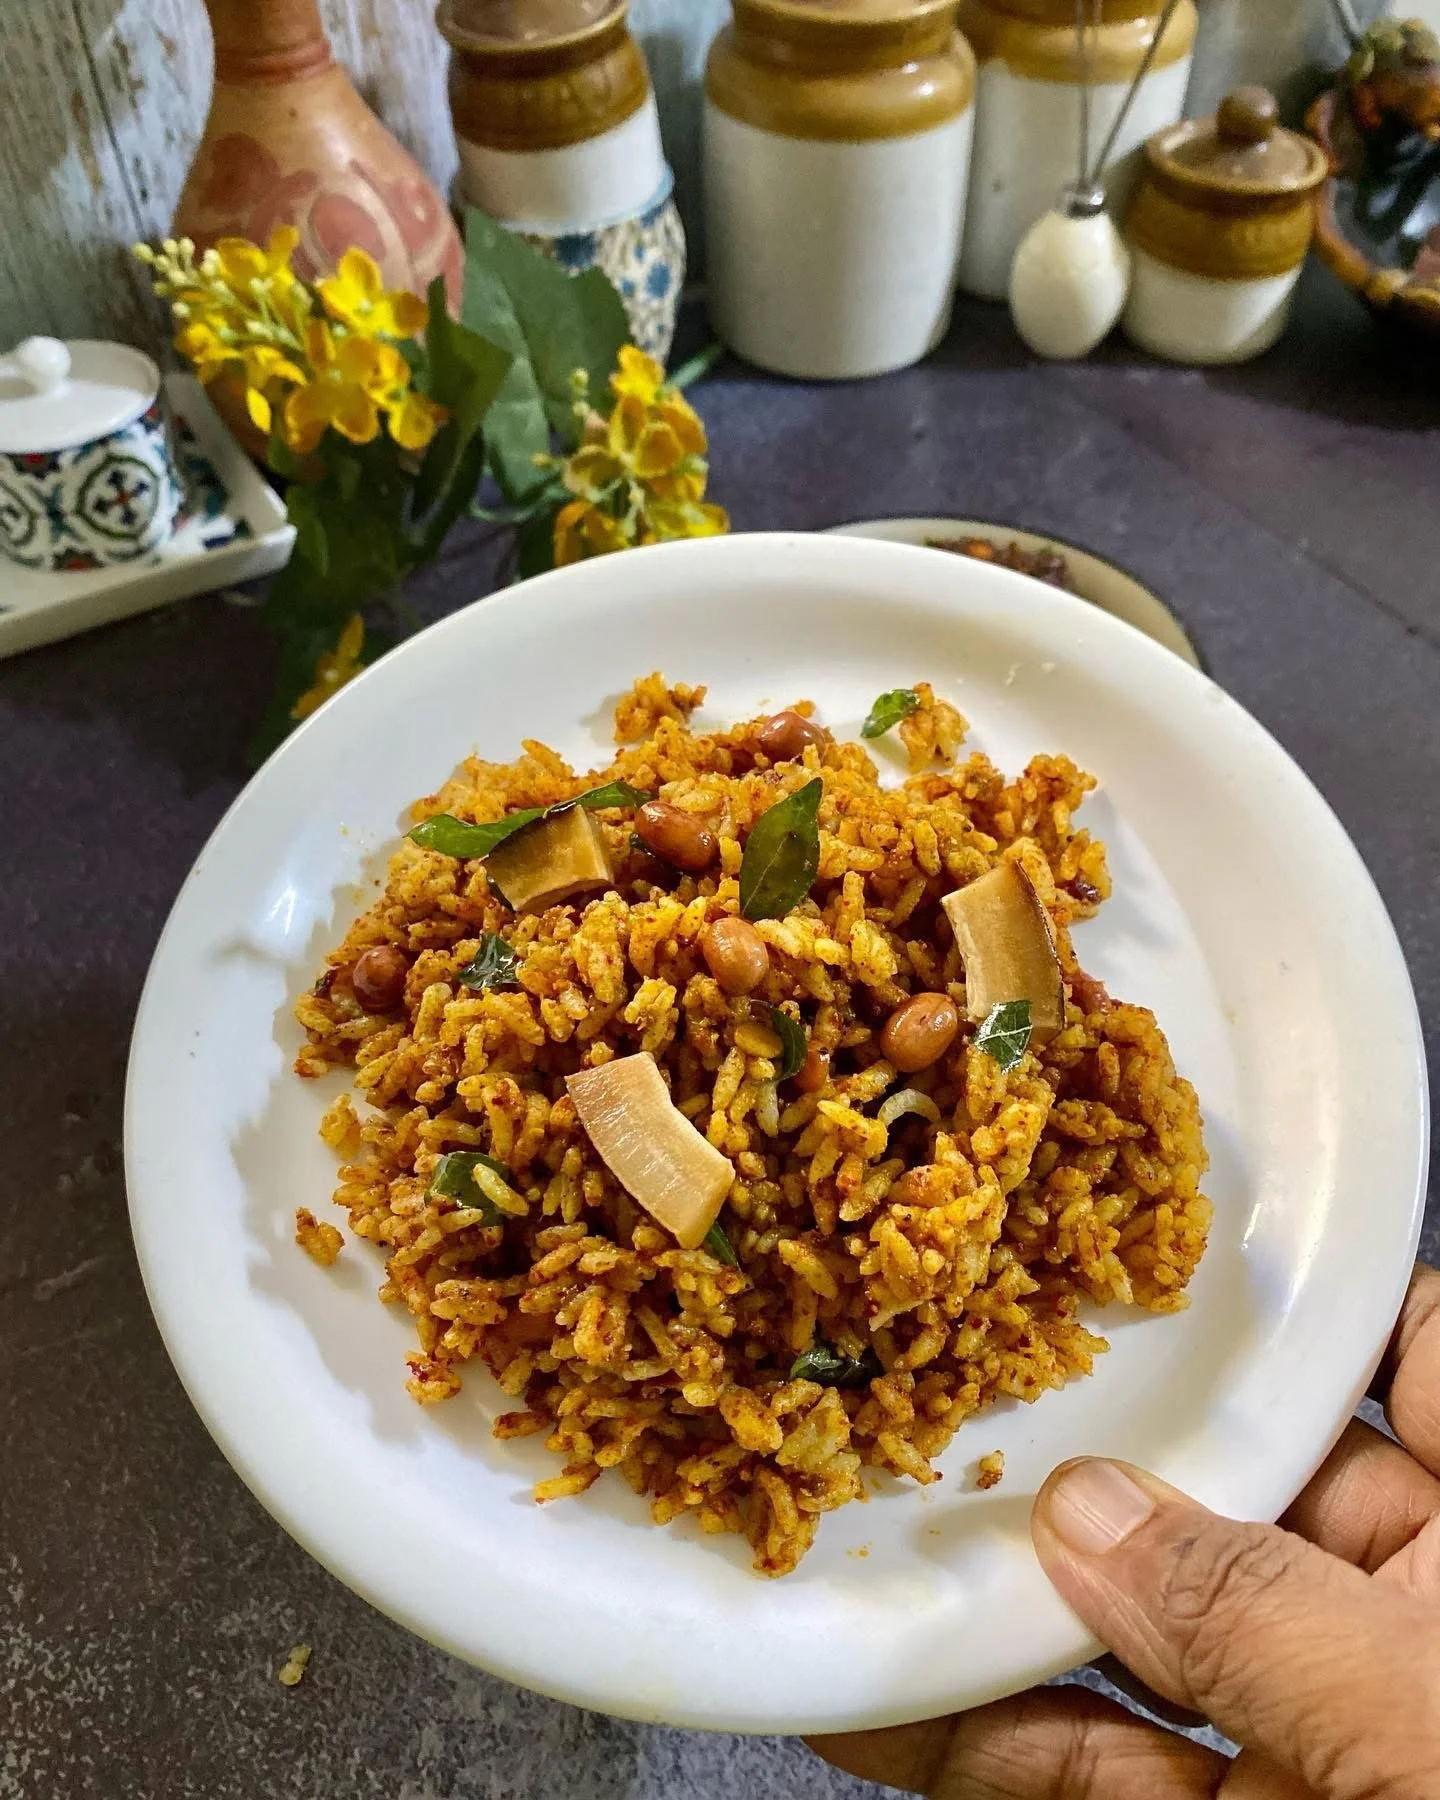
A fragrant South Indian rice dish made with coconut milk, whole spices and vegetables, Brinji sits beautifully between a pulao and biryani. Light, flavourful and gently aromatic, it’s perfect for weekday lunch boxes, small gatherings or a comforting weekend meal.